OAuth2 Clients
Register web, mobile and backend applications that sign in to MaestroHub through standard OAuth2 and OpenID Connect flows.
- Where
- Admin › Identity & Access › API Clients
- Grant types
- Authorization code · client credentials · refresh
- Client types
- Confidential · public with PKCE
- Managed by
- Workspace Administrators (their workspace), and System, Identity and Security Administrators
OAuth2 Clients allow you to register external applications (web apps, single-page applications, mobile apps, and backend services) that authenticate with MaestroHub through standard OAuth2/OpenID Connect flows. This is the recommended approach when building integrations that need to act on behalf of users or operate as autonomous services.
OAuth2 Clients are managed from Admin → Identity & Access → API Clients. A client belongs to one workspace and acts only there: its tokens name that workspace, and its roles are given there. A client can't be moved to another workspace; register a new one there instead.
An API client is a service identity: it has its own access, separate from the person who registered it. How it acts depends on its grant type:
- A client that uses Authorization Code signs people in and acts as each of them. What it can do follows the person who signed in, limited by its allowed scopes.
- A client that uses Client Credentials signs in as itself. It starts with no access at all and never inherits anything from the person who created it. It can do only what its roles allow, or what has been shared with it.
Use a personal access token (Profile → Security), or open the profile menu and choose Connect an AI client for Claude Desktop, Cursor or another assistant. A personal access token acts as you and never exceeds your own access. An API client is for a shared system that must keep working when people change roles or leave.
Who can manage API clients
| Role | Register, edit, disable and delete clients | Give an existing client roles |
|---|---|---|
| Workspace Administrator | Yes, in their own workspace | Yes, in their own workspace, within their own permissions |
| Identity Administrator (platform role) | Yes, in every workspace | Yes, within their own permissions. These hold no data access, so a data role needs someone who has it |
| Security Administrator (platform role) | Yes, in every workspace | Yes, within their own permissions, as for the Identity Administrator |
| System Administrator (platform role) | Yes, in every workspace | Yes |
What you may do is decided in the client's own workspace, which need not be the one you are viewing. When you lack the permission for an action, Register Application, Edit, Disable and Delete stay visible but disabled, and hovering one tells you why. Choosing a workspace you cannot register in, in the register form, disables Register Application with the reason. If you cannot open the API Clients page at all, the page explains that administrators create API clients and links to personal access tokens and Connect an AI client instead.
Client List
The client list shows the OAuth2 applications of one workspace, named above the table (API clients of workspace). It starts on the workspace you are viewing; choose another there to list its clients.
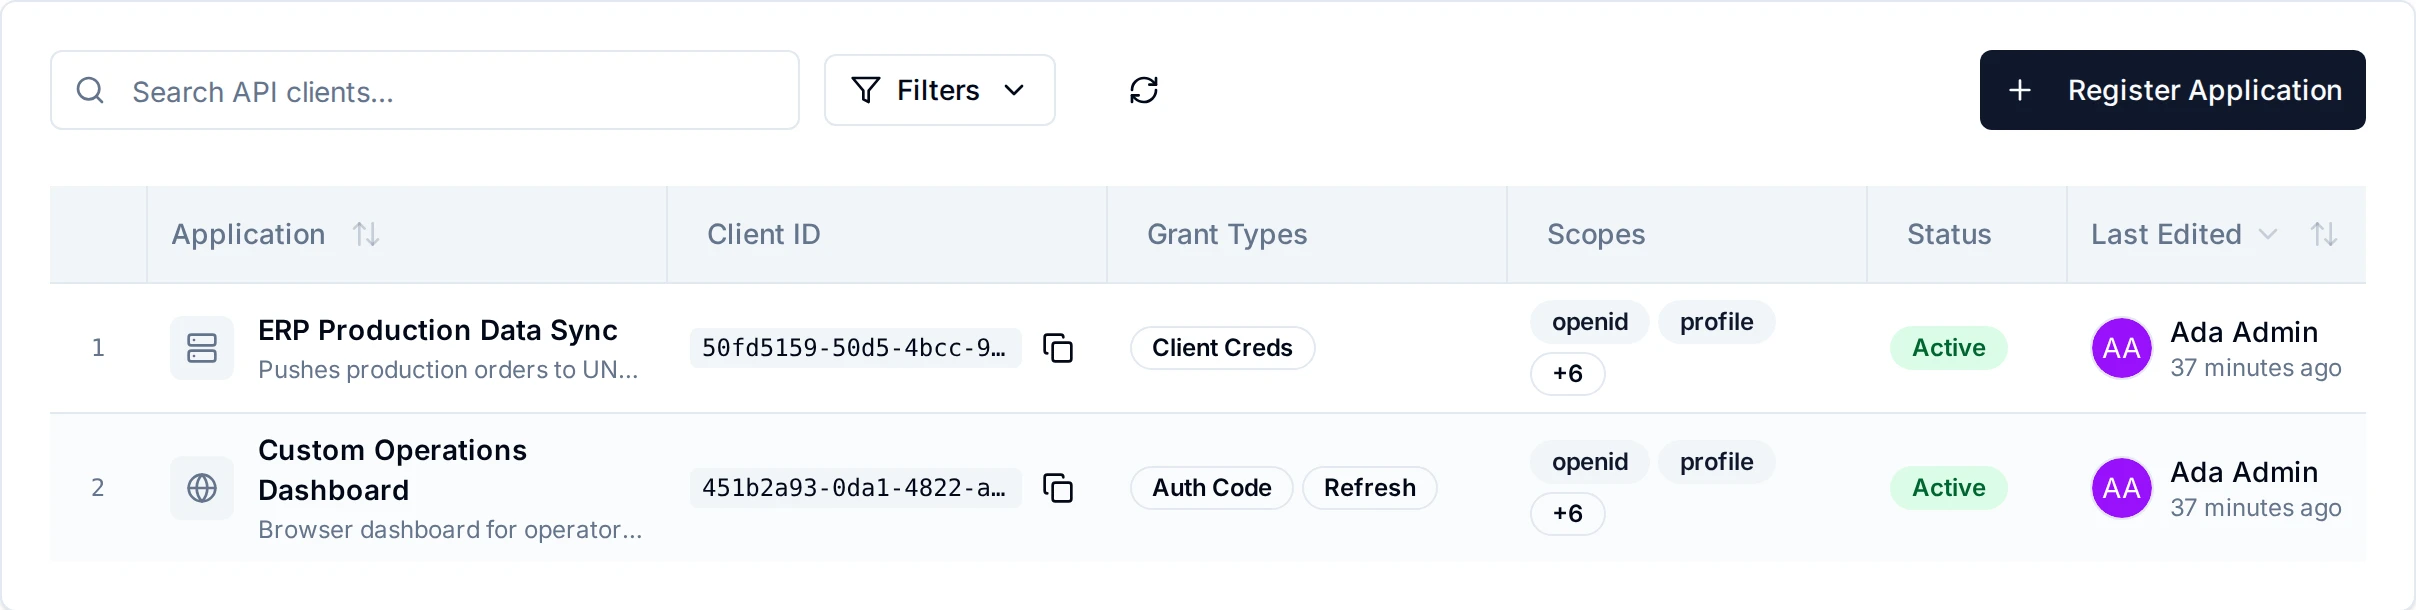
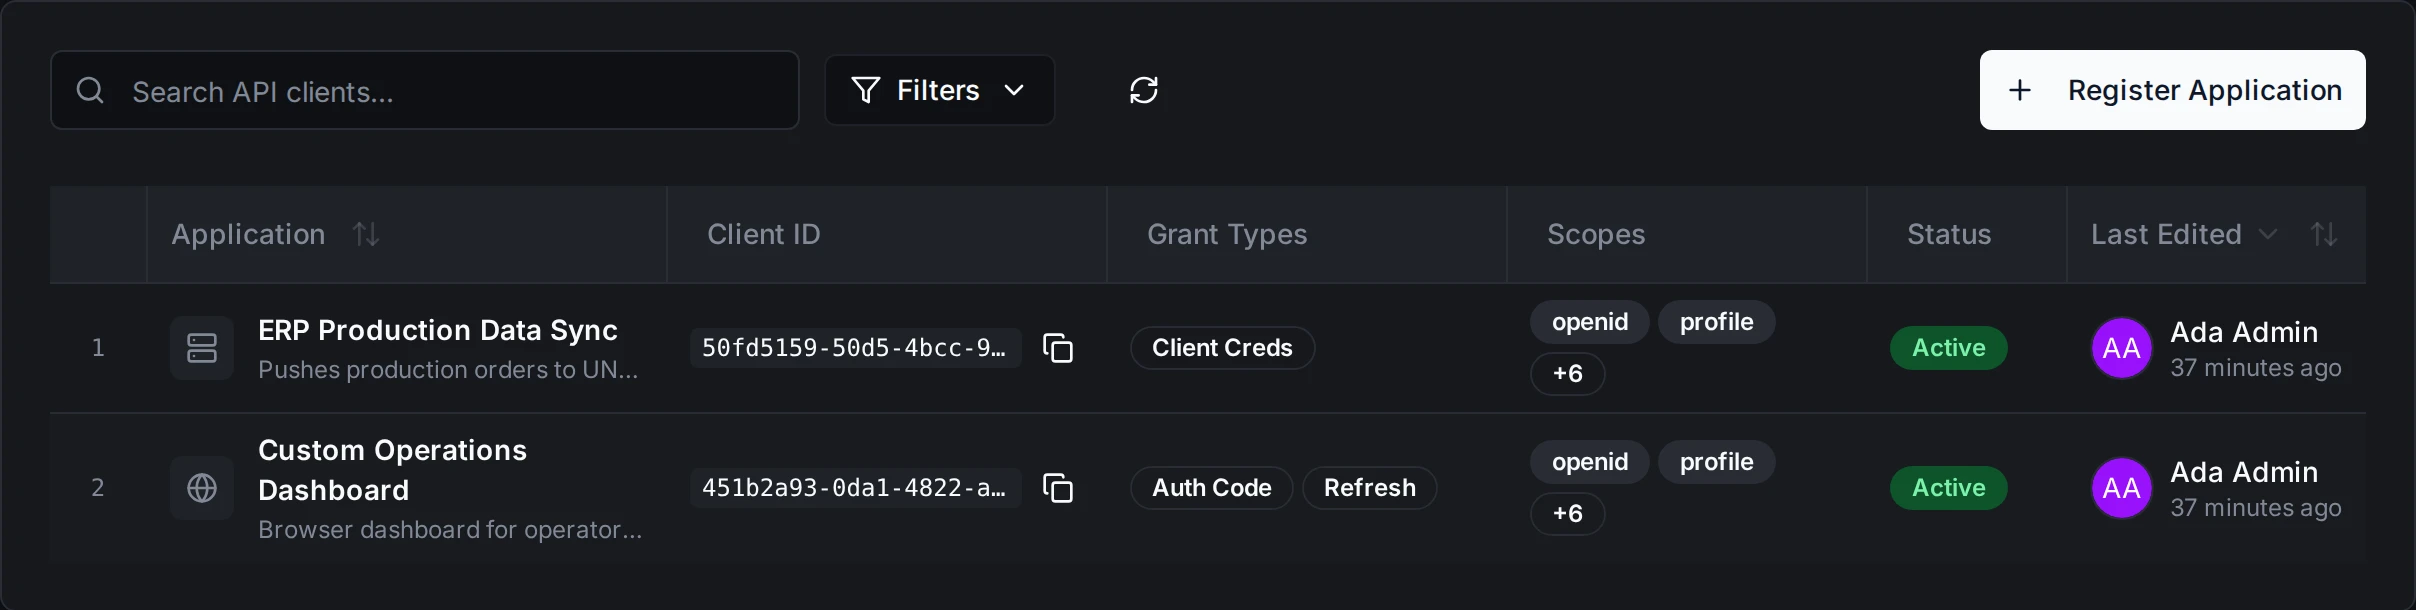
| Column | Description |
|---|---|
| Application | Client name with an icon indicating type (globe for public, server for confidential) and description. |
| Client ID | The unique identifier for the client (copyable). |
| Grant Types | Badges showing the configured grant types: Auth Code, Client Creds, Refresh. |
| Scopes | The first two allowed scopes as badges, with a "+N" indicator if more exist. |
| Status | Active or Disabled. |
| Created By | The user who registered the client, with a timestamp. |
| Updated By | The user who last modified the client, with a timestamp. |
Use the controls above the table to filter by status (All, Active, Disabled) or search by name, client ID, or description. Sort by name, created date, or updated date.
Actions Menu
Each client row provides the following actions:
| Action | Description |
|---|---|
| View Details | Open the client detail view. |
| Enable / Disable | Toggle the client status. A disabled client cannot obtain new tokens, and tokens it obtained with Client Credentials stop working. See Enabling and Disabling for what happens to tokens already issued. |
| Copy Client ID | Copy the client ID to your clipboard. |
| Delete | Permanently delete the client. A confirmation dialog warns about the downstream impact. |
Registering a New Client
Click Register Application to open the creation form. The form is organized into sections.
Basic Information
| Field | Type | Required | Description |
|---|---|---|---|
| Workspace | Workspace picker | Yes | The workspace the client is registered in. It starts on the workspace being listed. The client acts only there and can't be moved later. You need the right to manage API clients in that workspace. |
| Application Name | Text | Yes | Display name for the client (1-100 characters). Shown on the user consent screen. |
| Description | Textarea | No | Optional note about the application's purpose (max 500 characters). |
Authentication Method
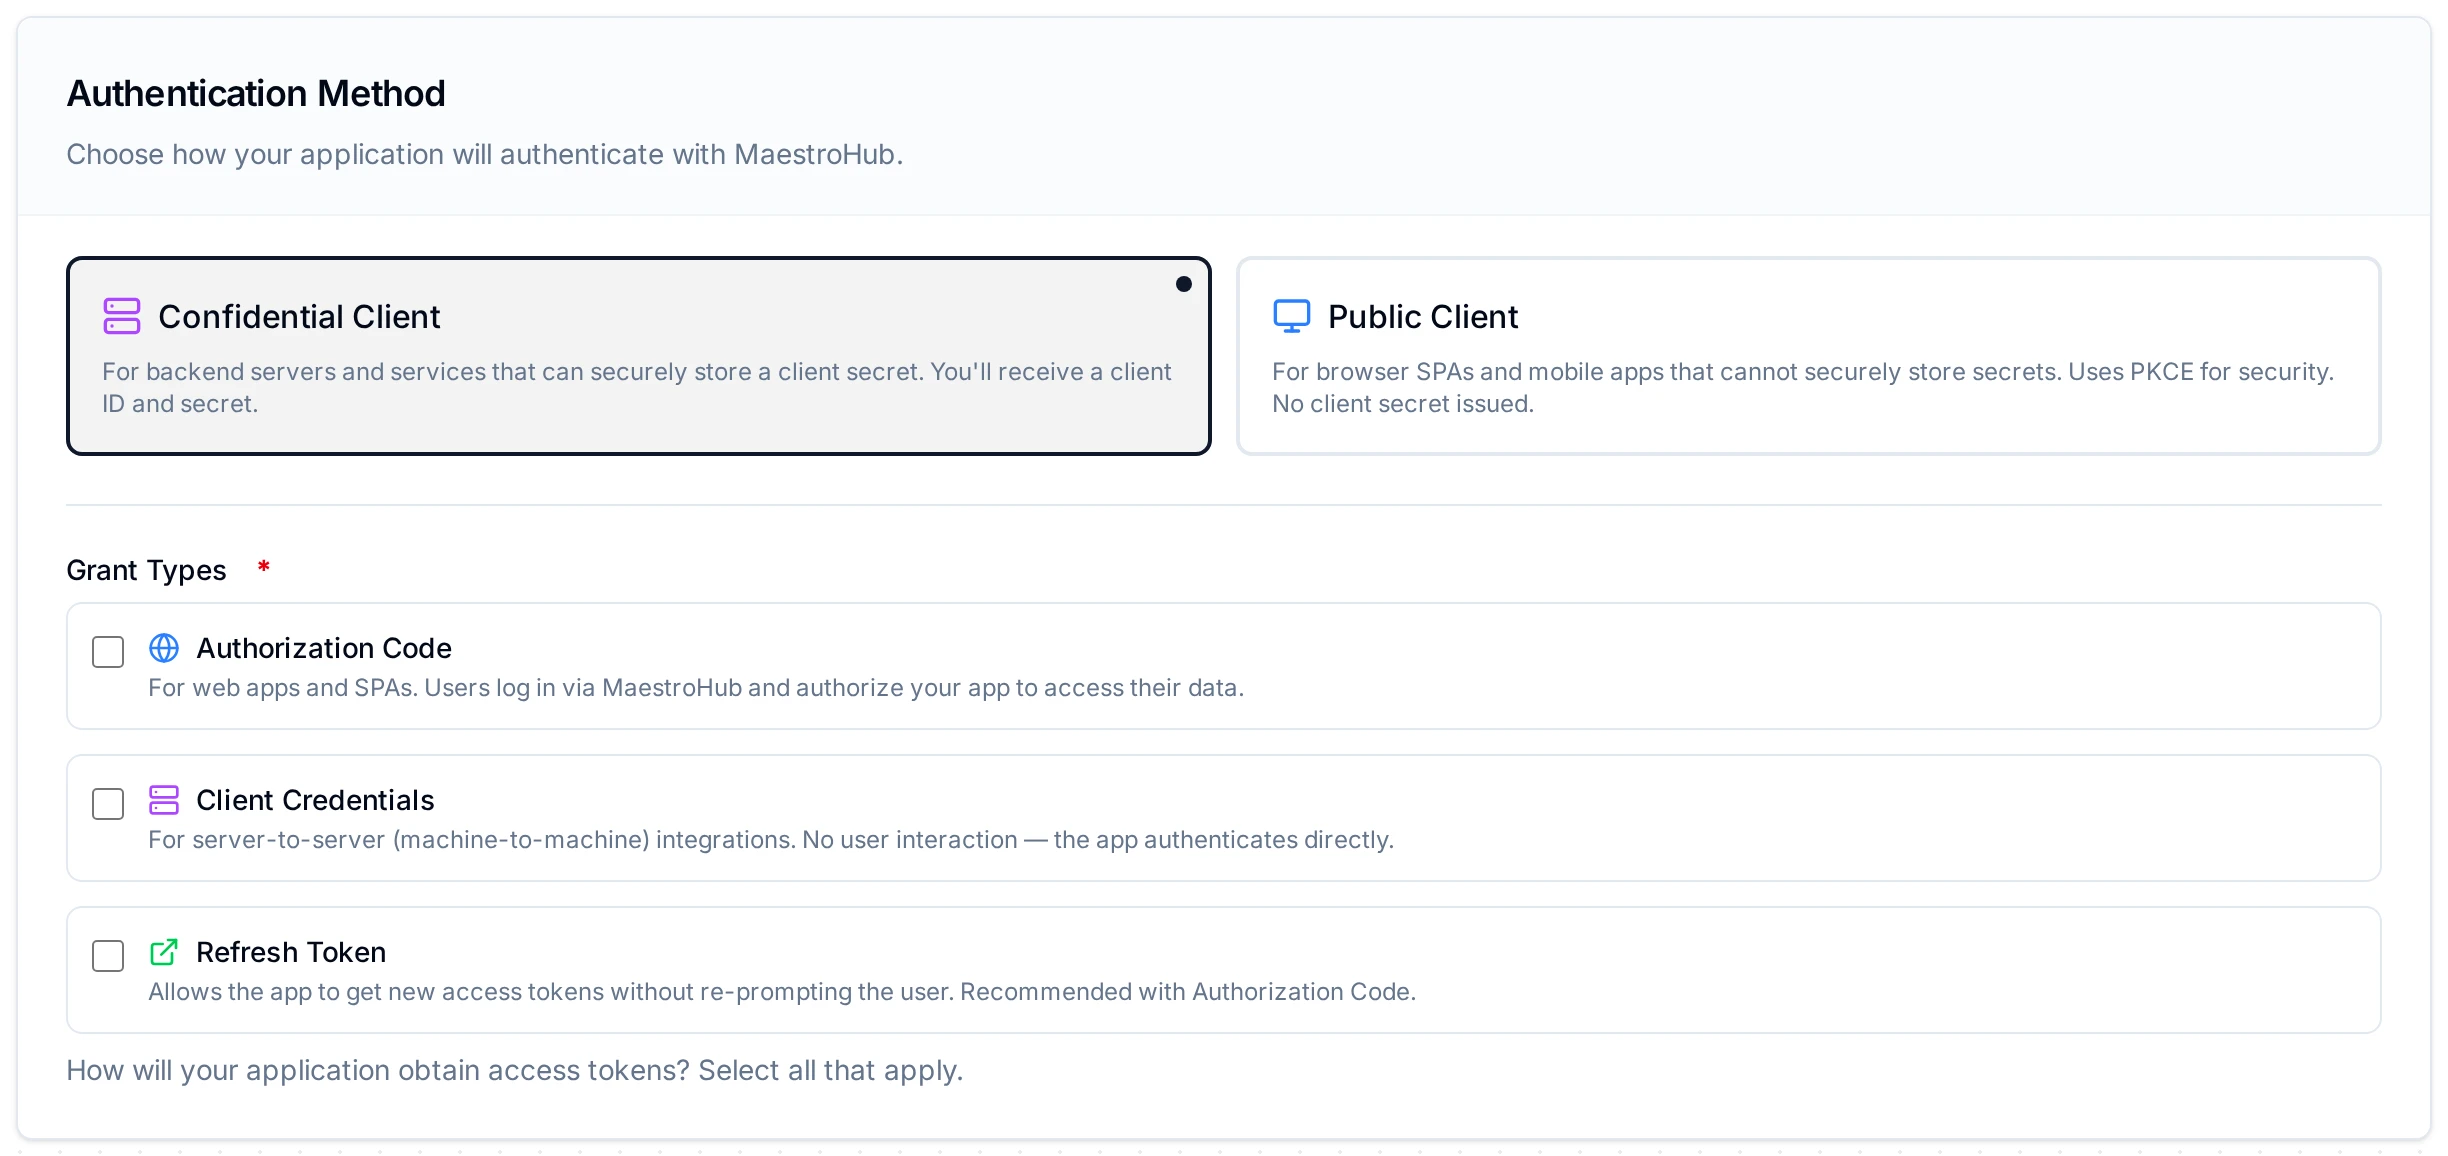
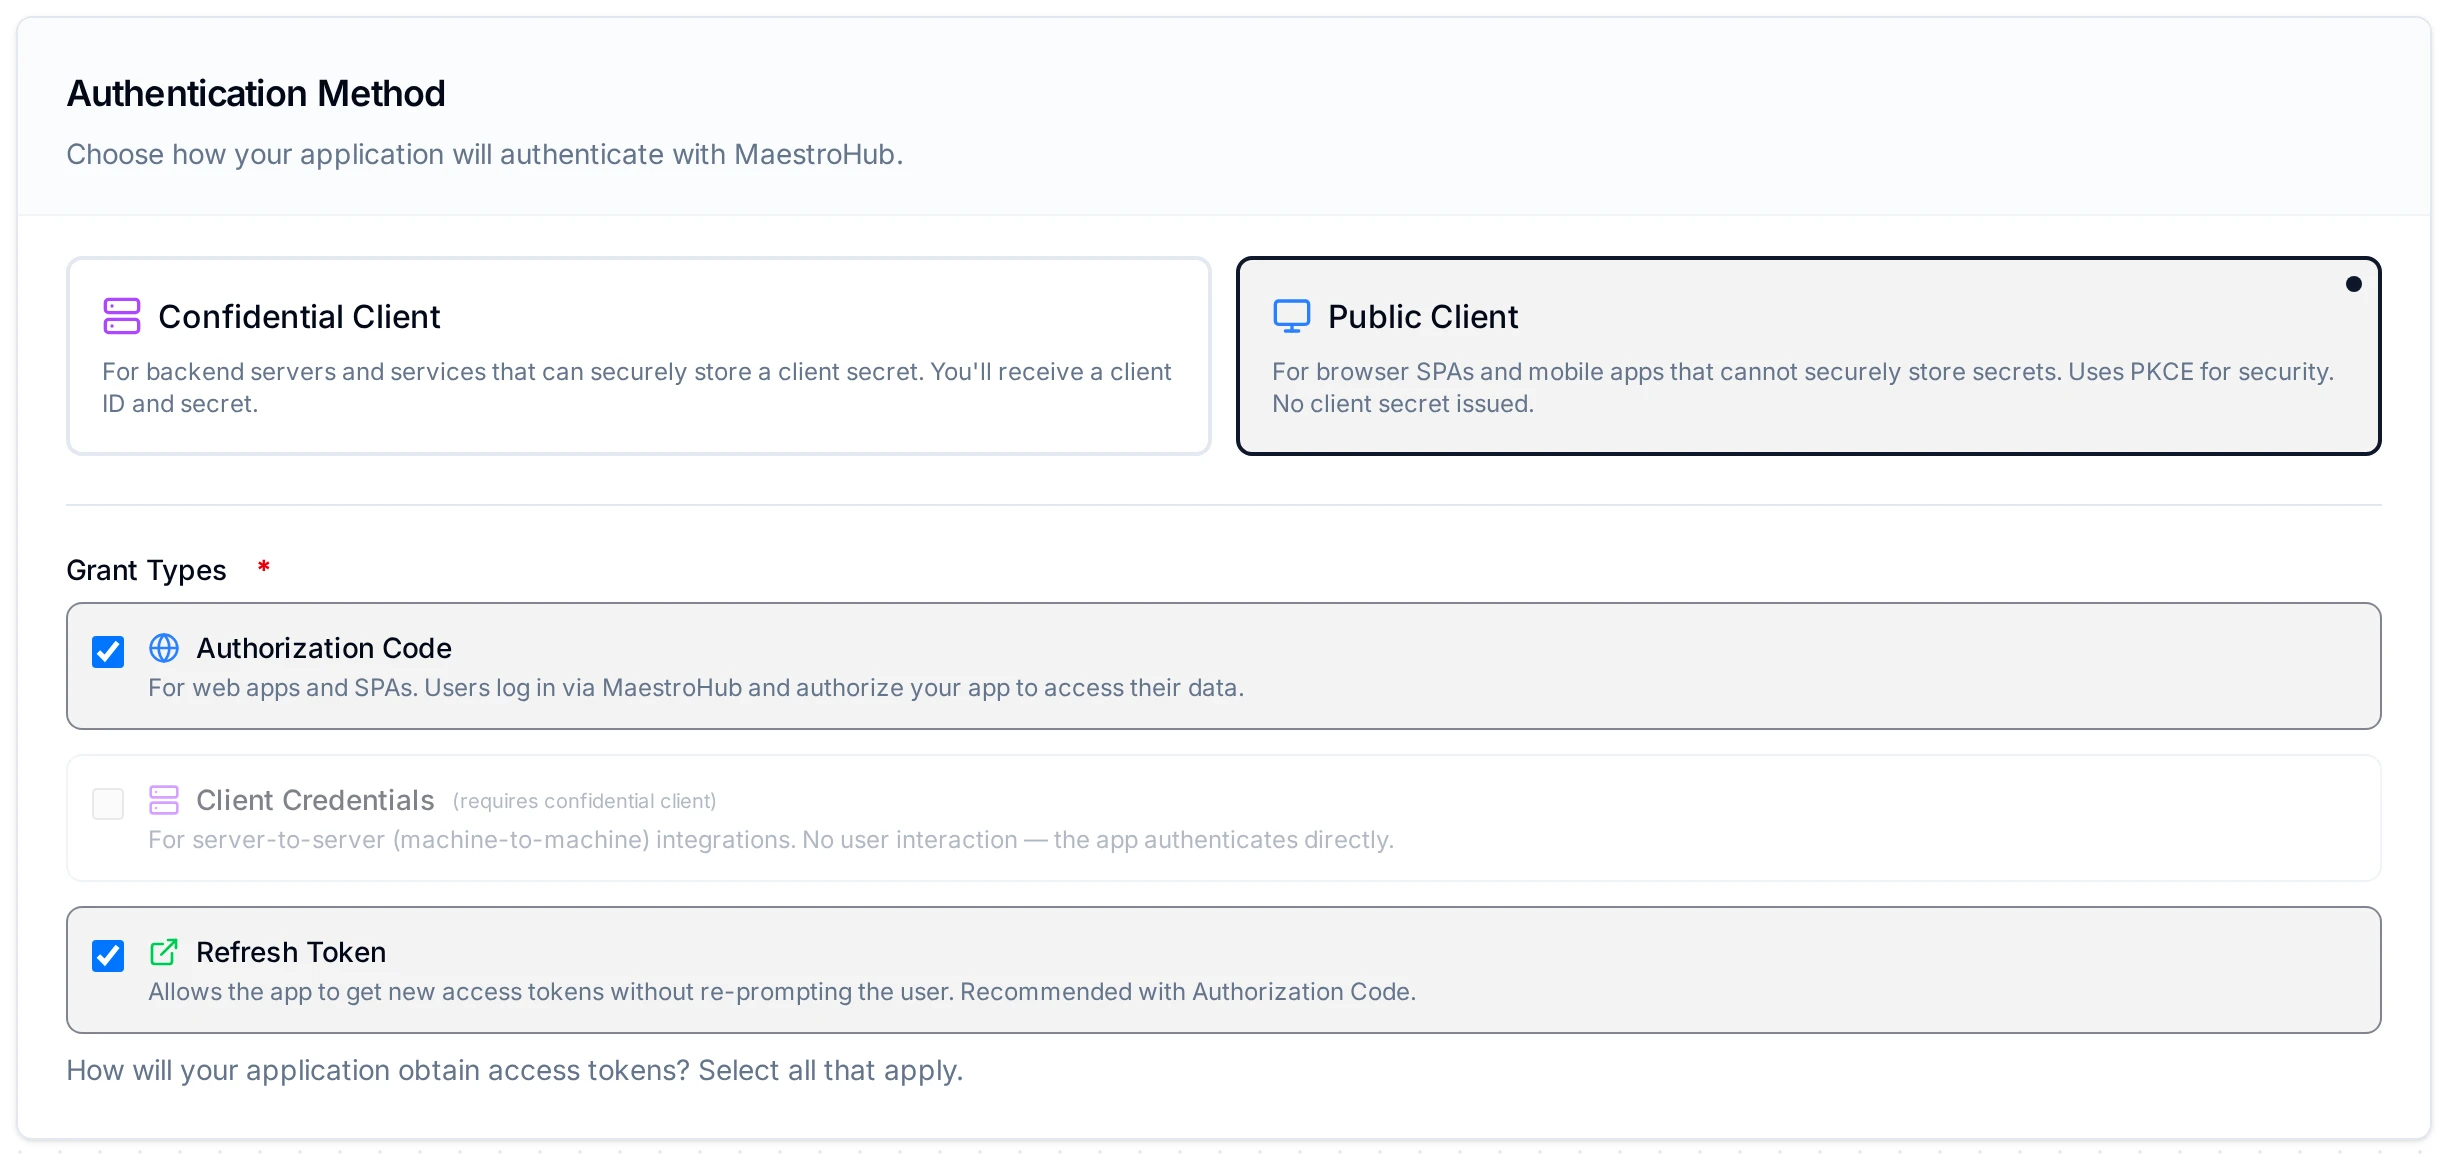
Choose the client type based on where the application runs and whether it can safely store a secret. This cannot be changed after creation.
| Client Type | Secret Issued | Description |
|---|---|---|
| Confidential Client | Yes | The application runs in an environment where the client secret can be stored securely and is never exposed to end users. |
| Public Client | No | The application runs in an environment where a secret cannot be kept safe. Authentication relies on PKCE instead of a client secret. |
When to use Confidential Client:
- Backend services running on your own servers, for example an MES system that syncs production orders with MaestroHub, or an ERP backend that periodically reads pipeline execution results.
- Server-side web applications where the source code and configuration are not accessible to end users.
- Any integration where you can store the client secret in a secure location such as environment variables or a secrets vault.
When to use Public Client:
- Browser-based single-page applications (SPAs), for example a custom operations dashboard built with React that runs entirely in the user's browser.
- Mobile or desktop applications distributed to end users where the compiled code could be inspected or decompiled.
- Any application where the client secret would be embedded in code that users can access.
If you are unsure, ask yourself: "Can I guarantee the secret will never be visible to an end user?" If the answer is yes, use Confidential. If the answer is no, or if the application runs in a browser or on a user's device, use Public.
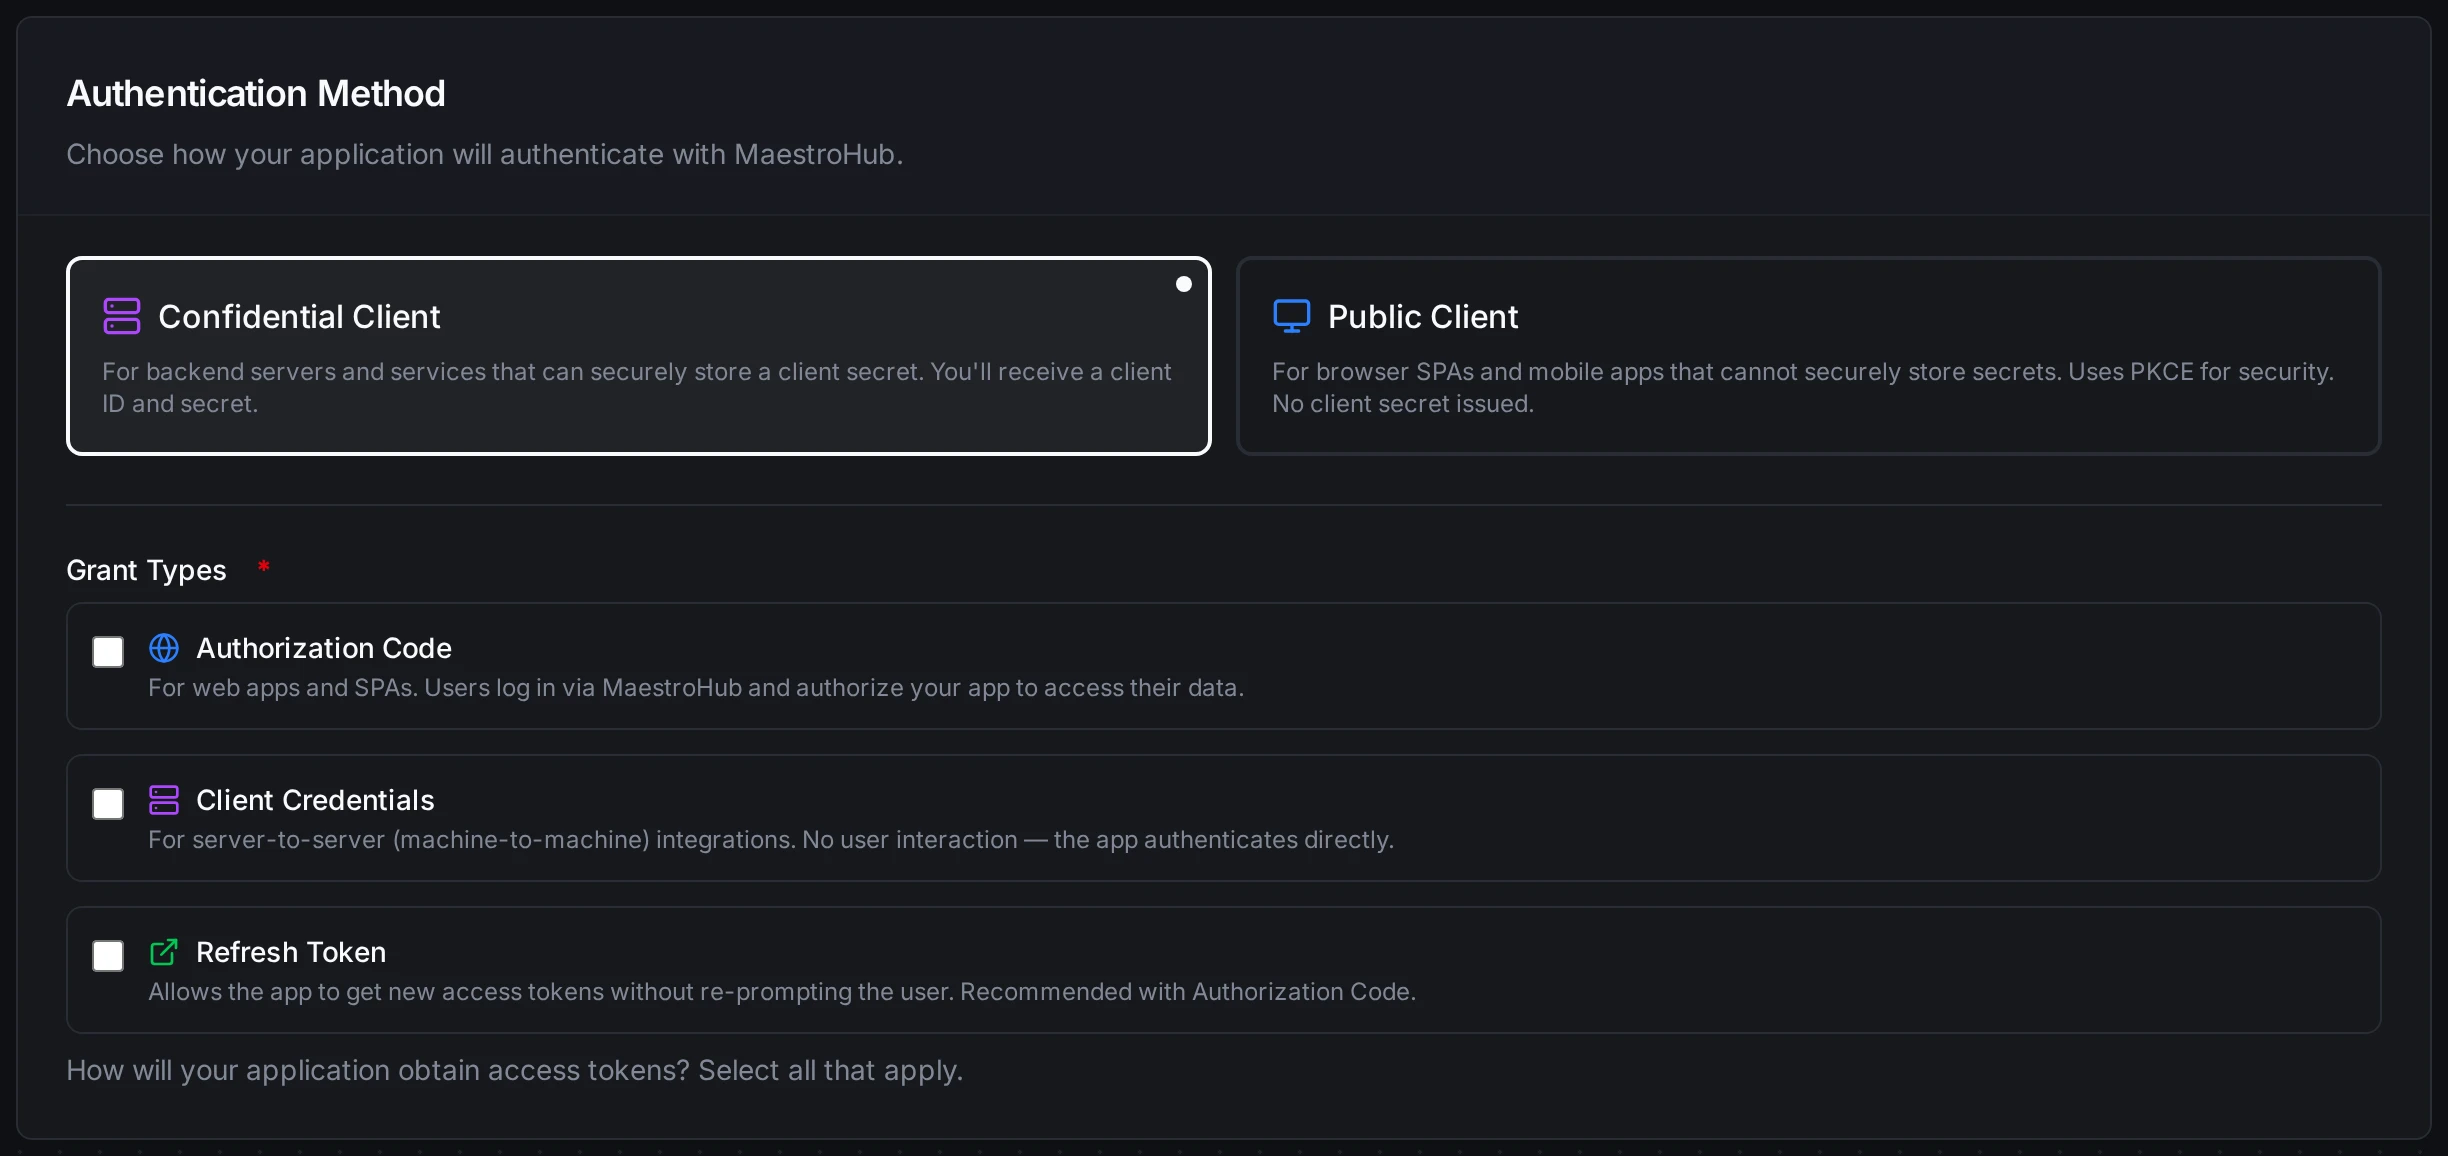
Grant Types
Select which OAuth2 flows the client can use. Grant types cannot be changed after creation.
| Grant Type | Description | Confidential | Public |
|---|---|---|---|
| Authorization Code | Users log in via MaestroHub and authorize your application. Requires redirect URIs. | Yes | Yes |
| Client Credentials | Server-to-server authentication with no user interaction. The application authenticates directly with its client ID and secret. | Yes | No |
| Refresh Token | Allows the application to obtain new access tokens without re-prompting the user. | Yes (auto-included with Authorization Code) | Optional |
Redirect URIs
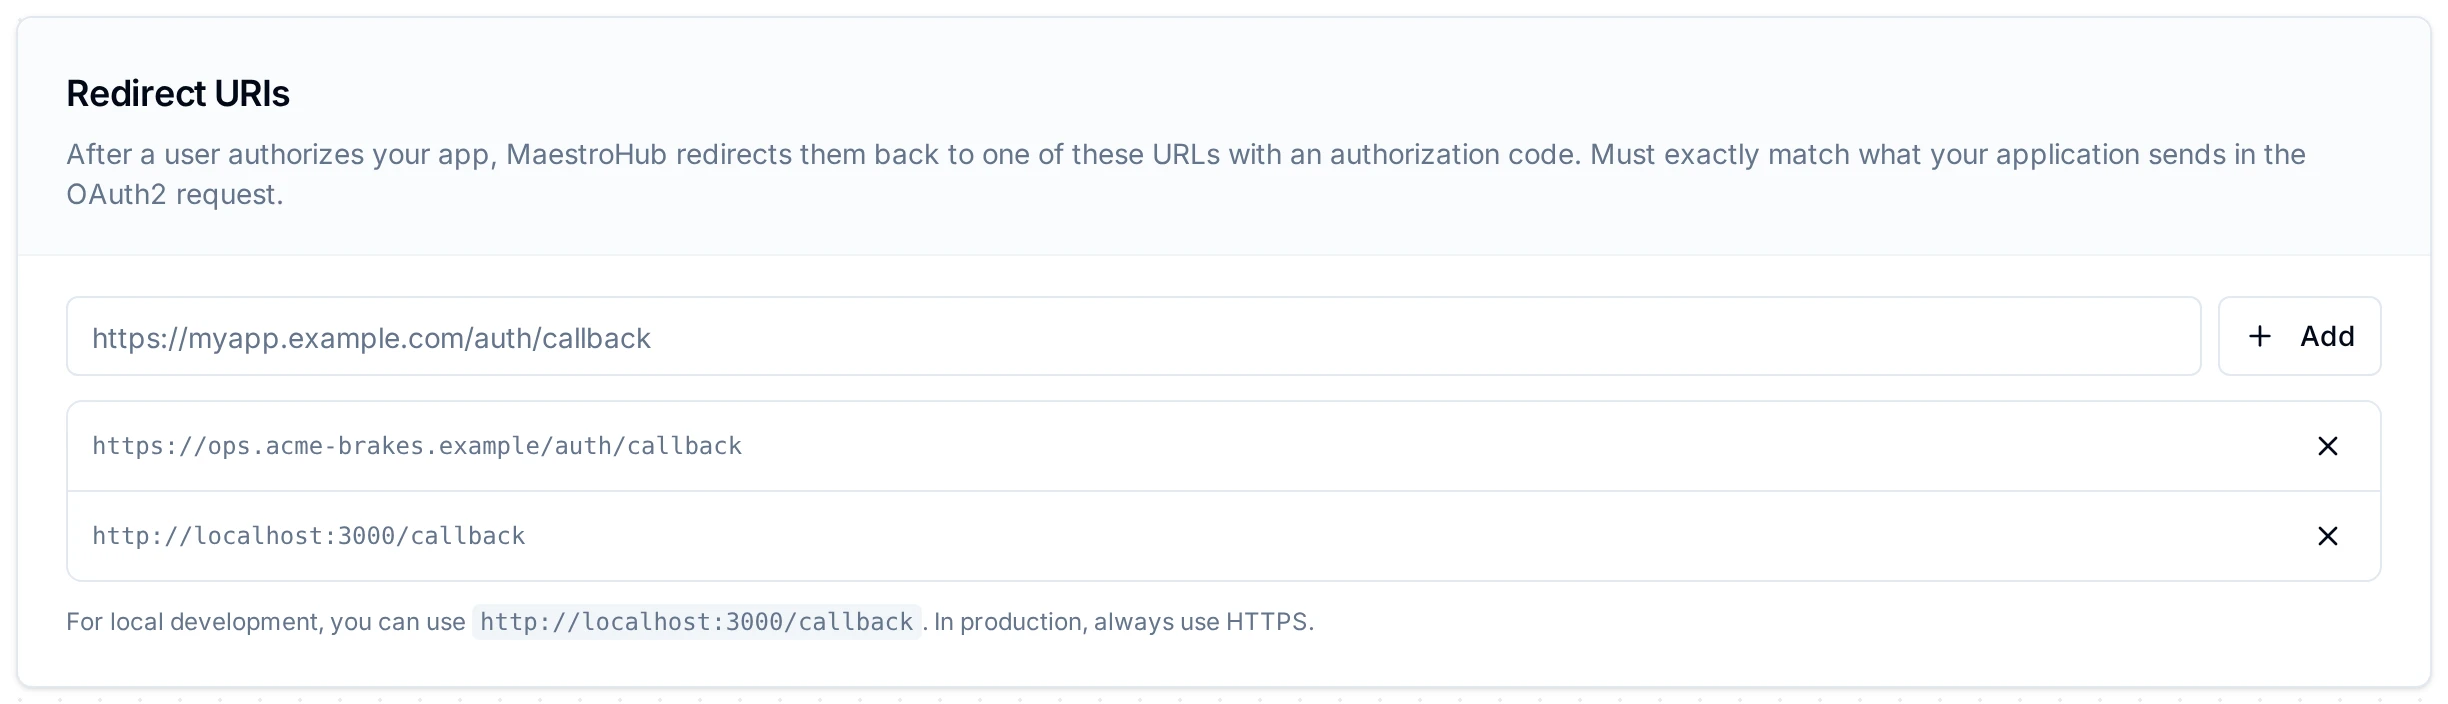
Required when the Authorization Code grant is selected. These are the URLs where MaestroHub redirects users after they authorize the application.
- Register each URI individually using the input field.
- URIs must match exactly what the application sends in the OAuth2 authorization request.
- Use
http://localhost:*for local development; usehttps://for production. - Multiple URIs are supported: add one for each environment or callback path your application uses.
Scopes
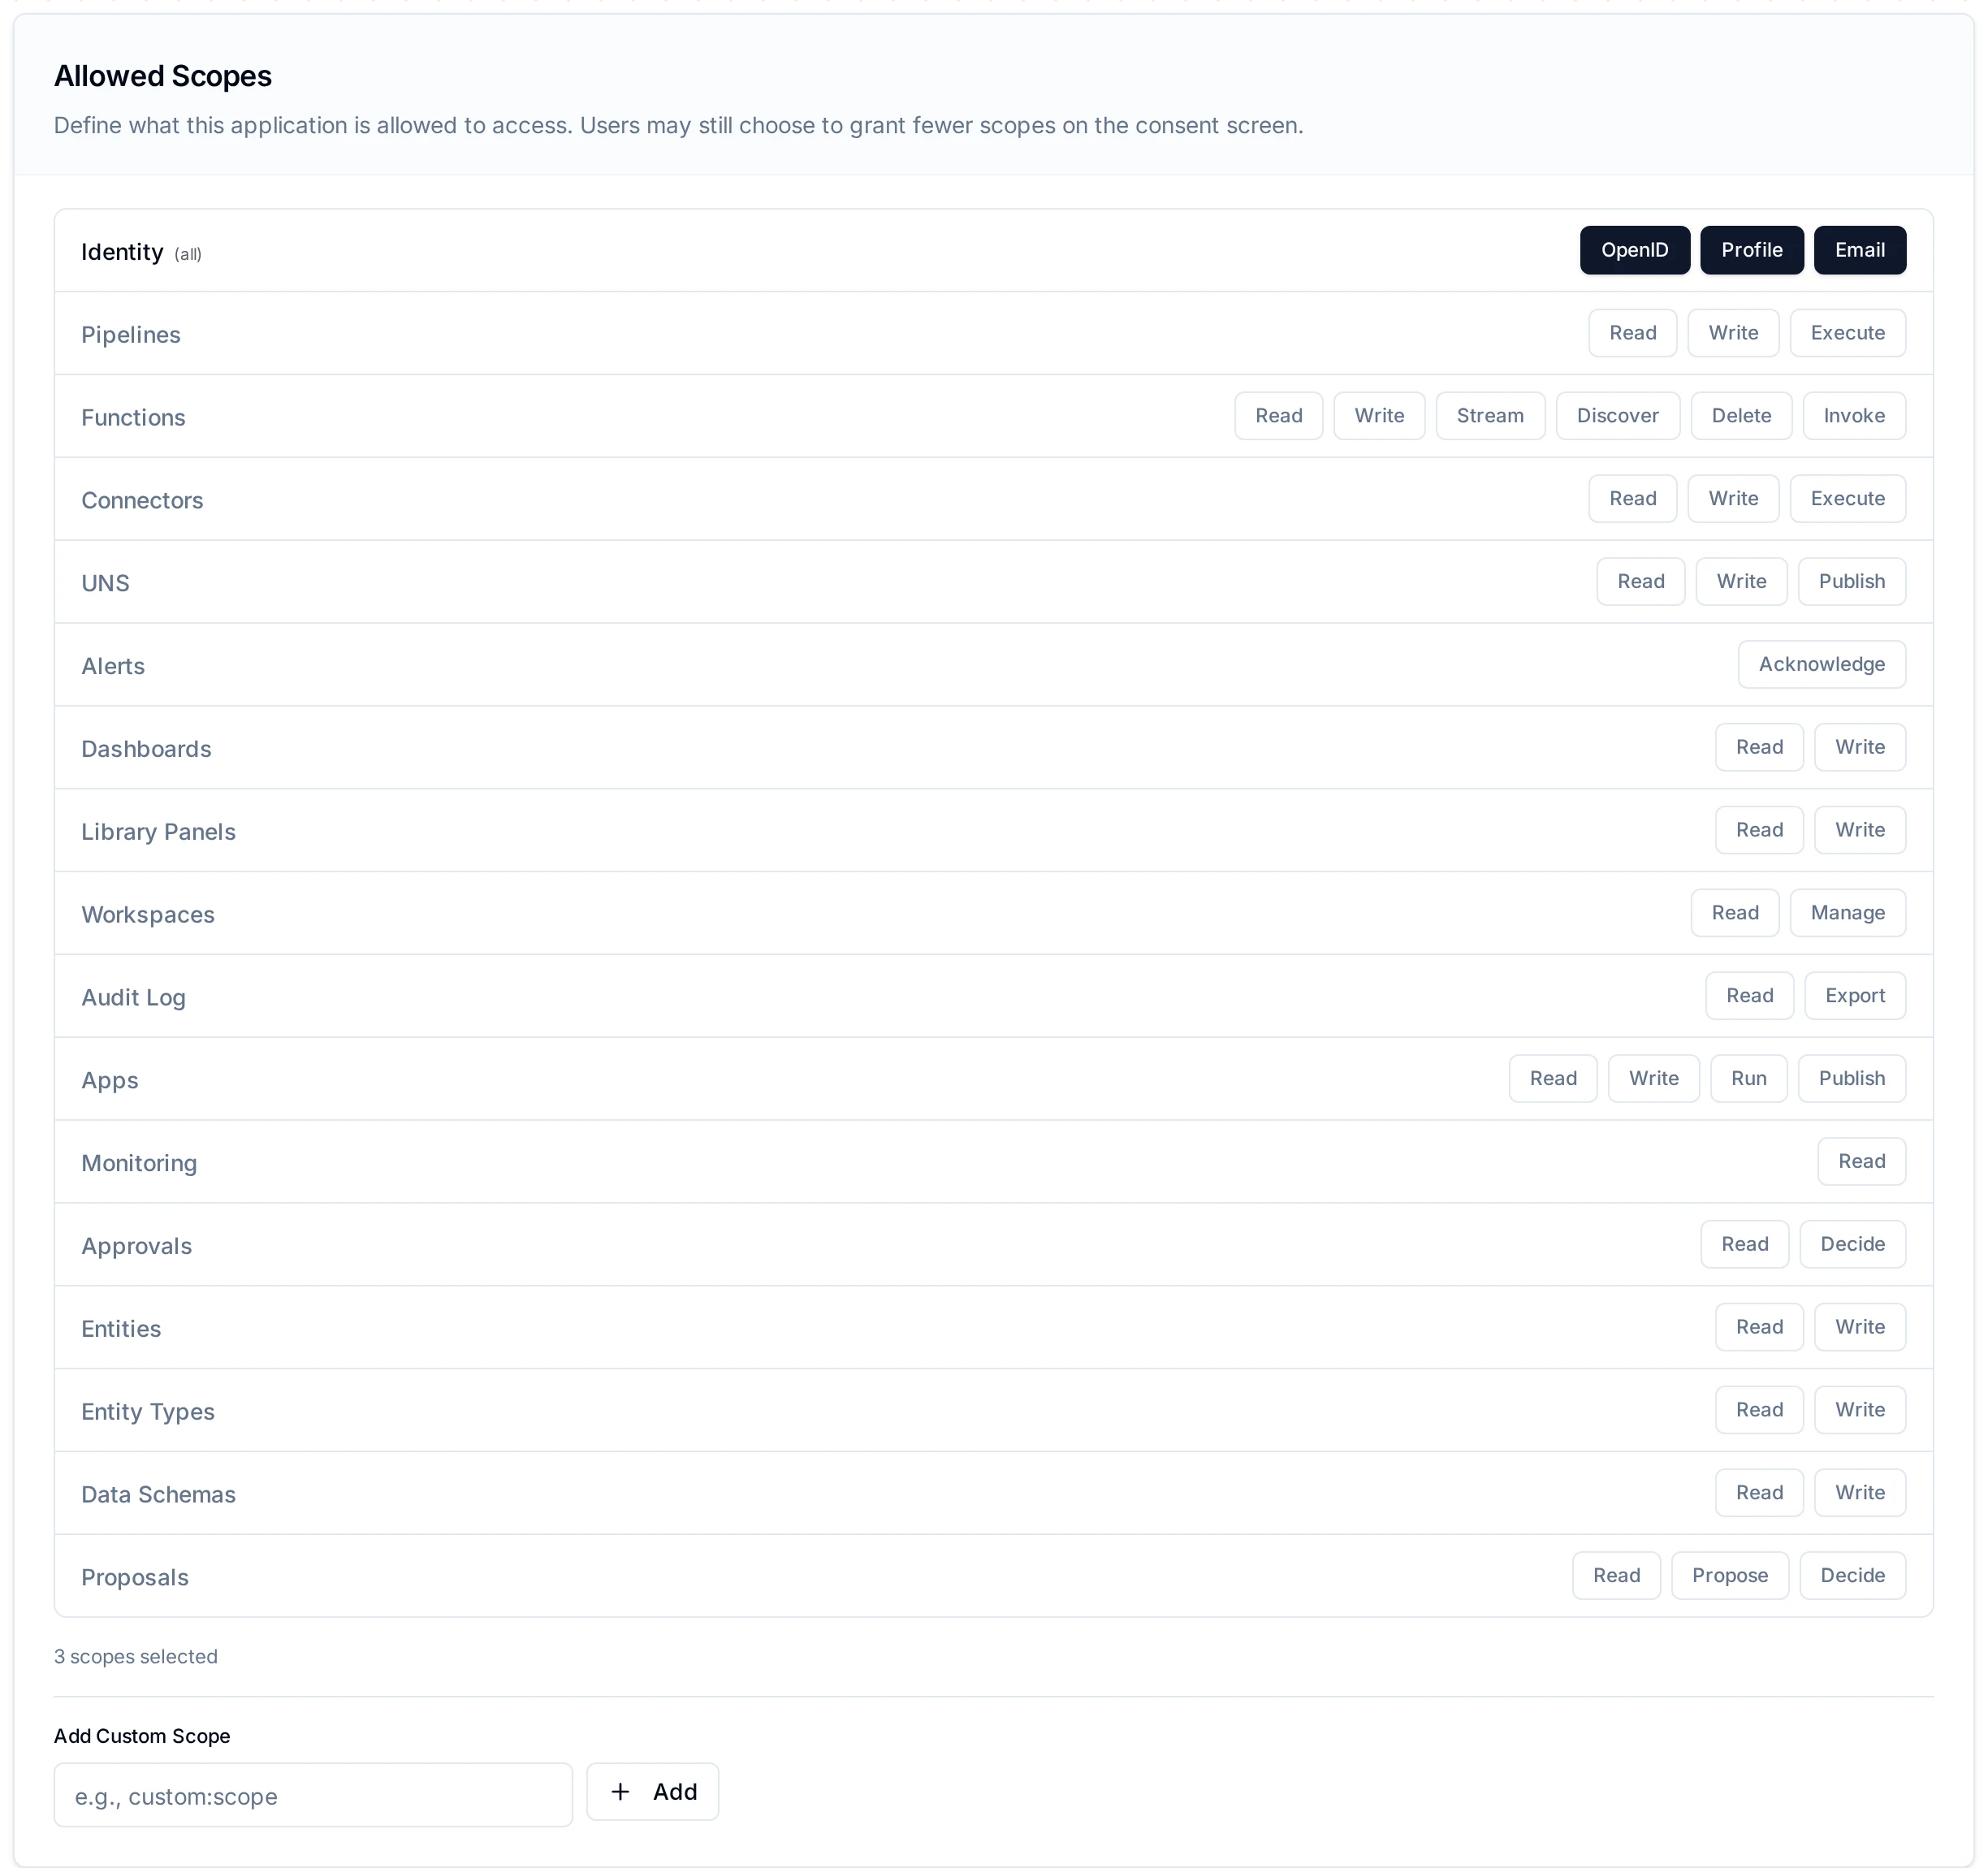
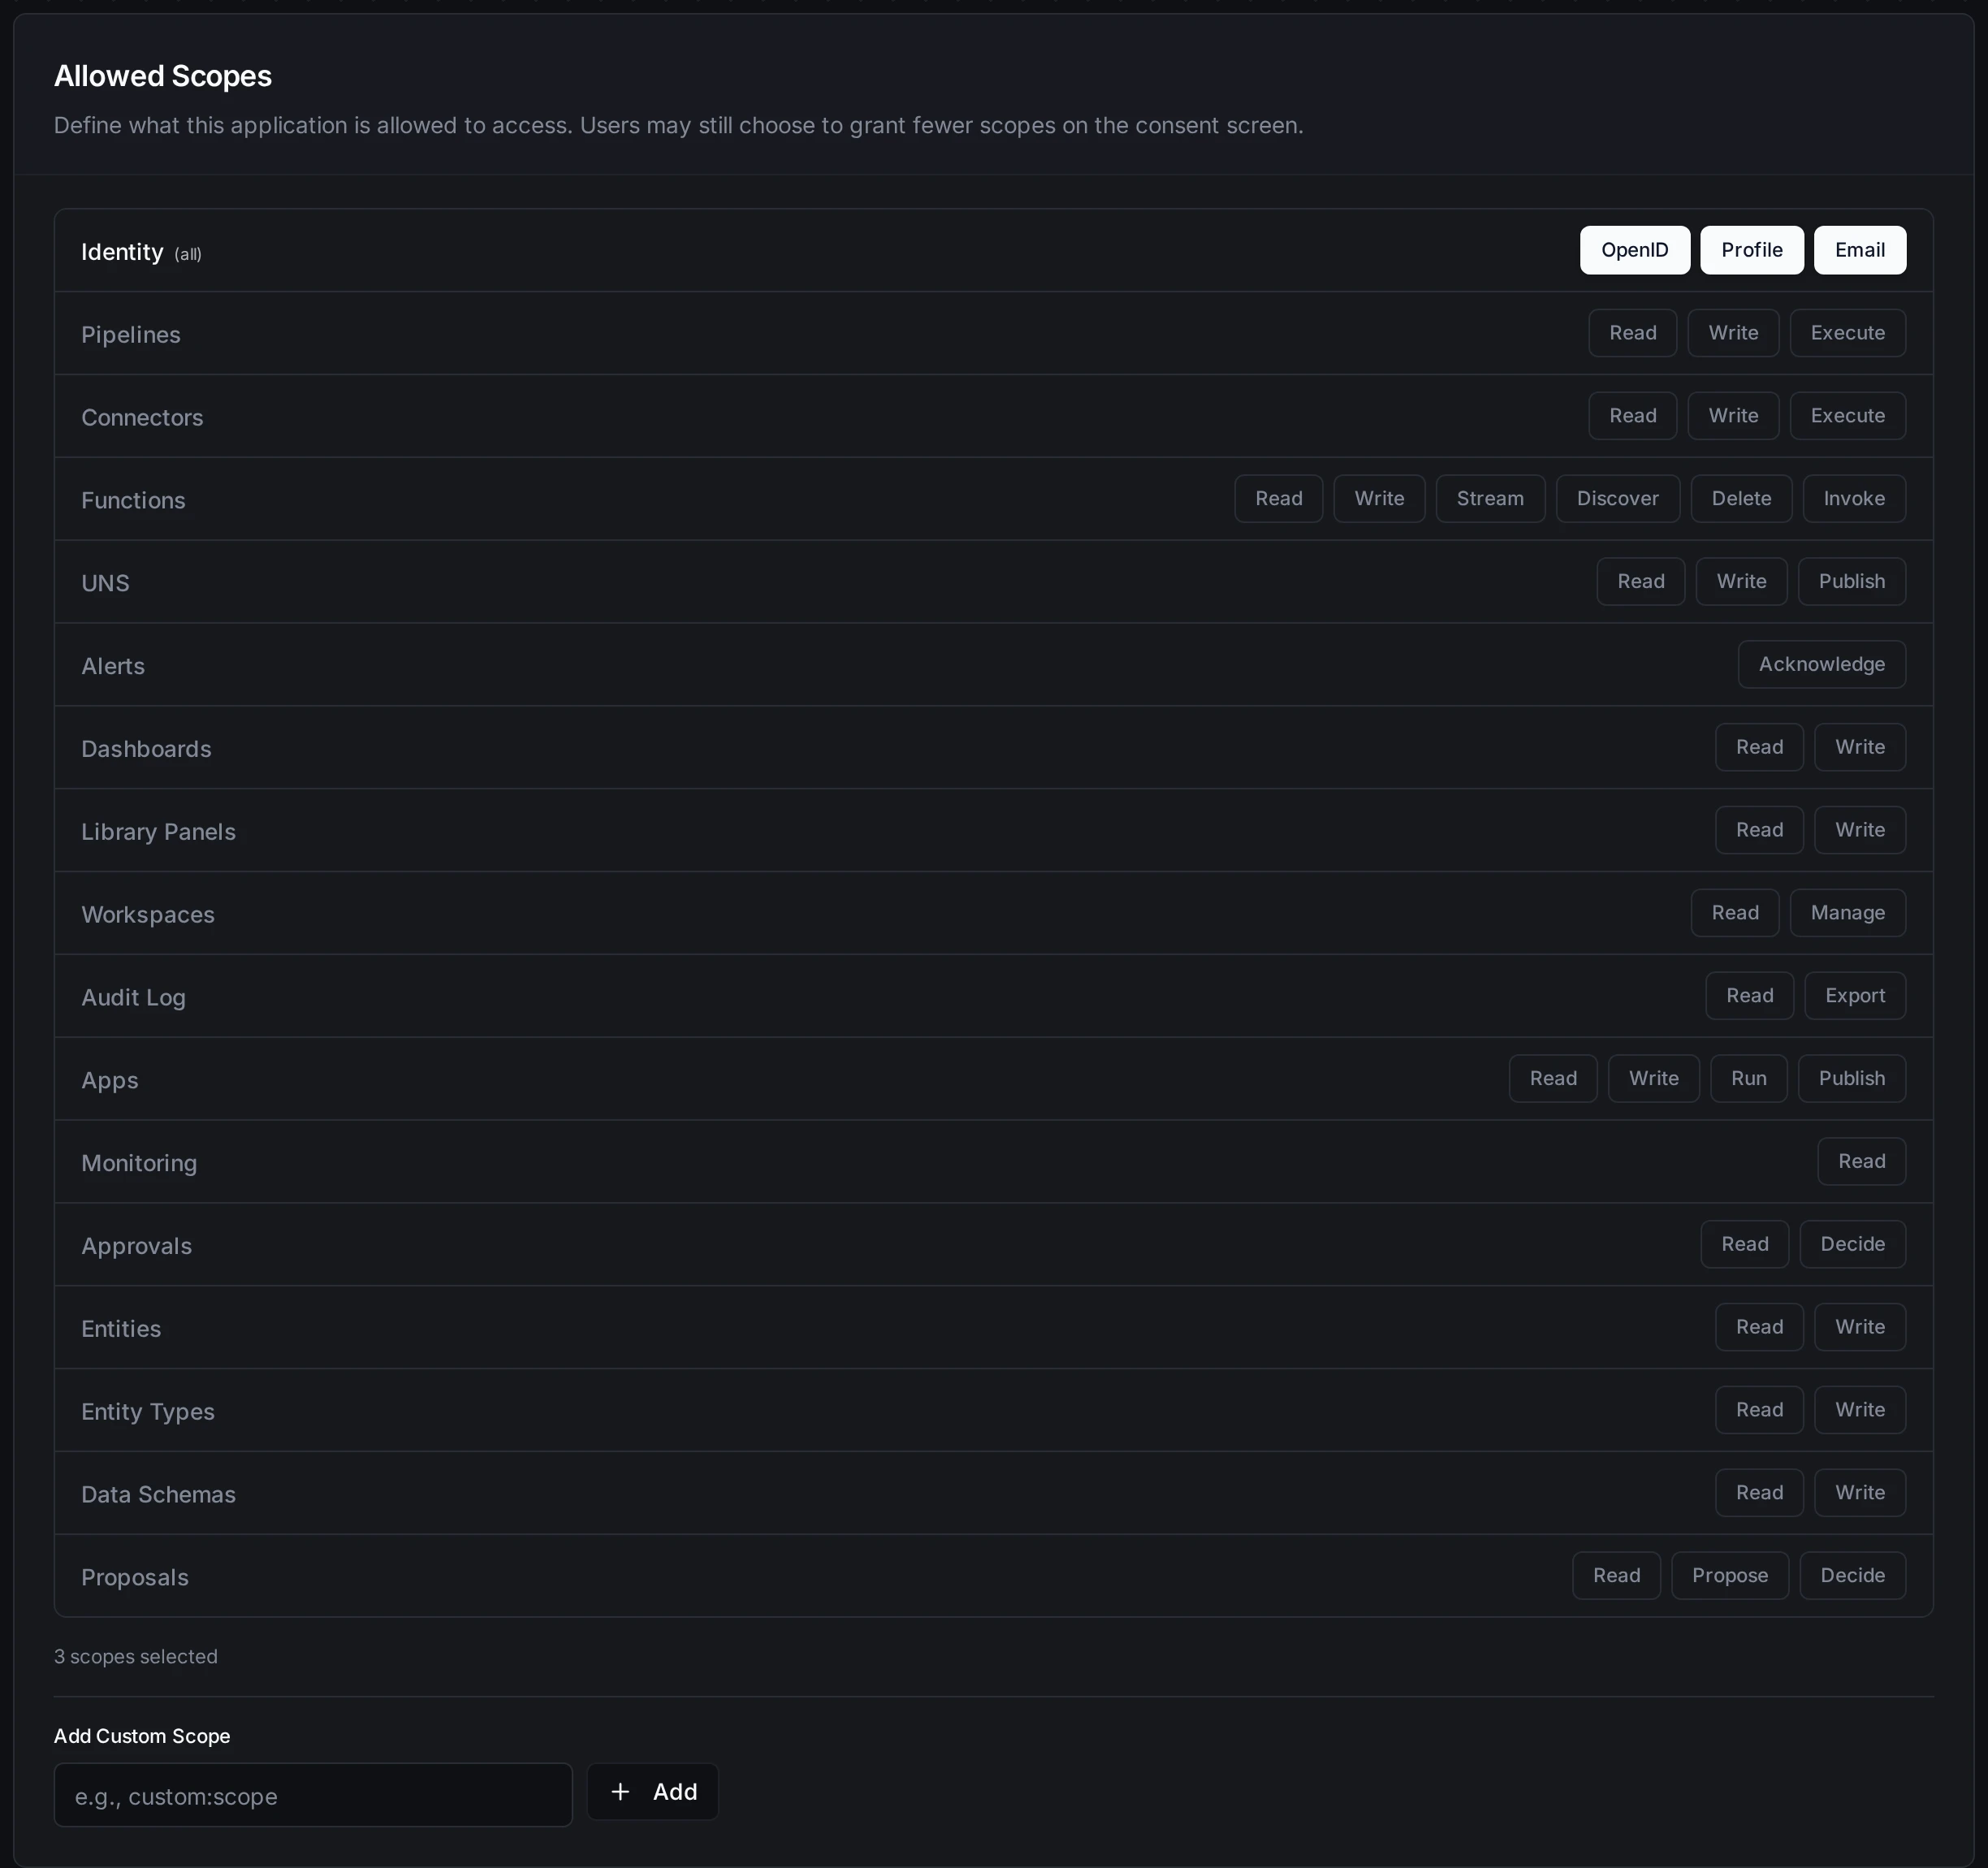
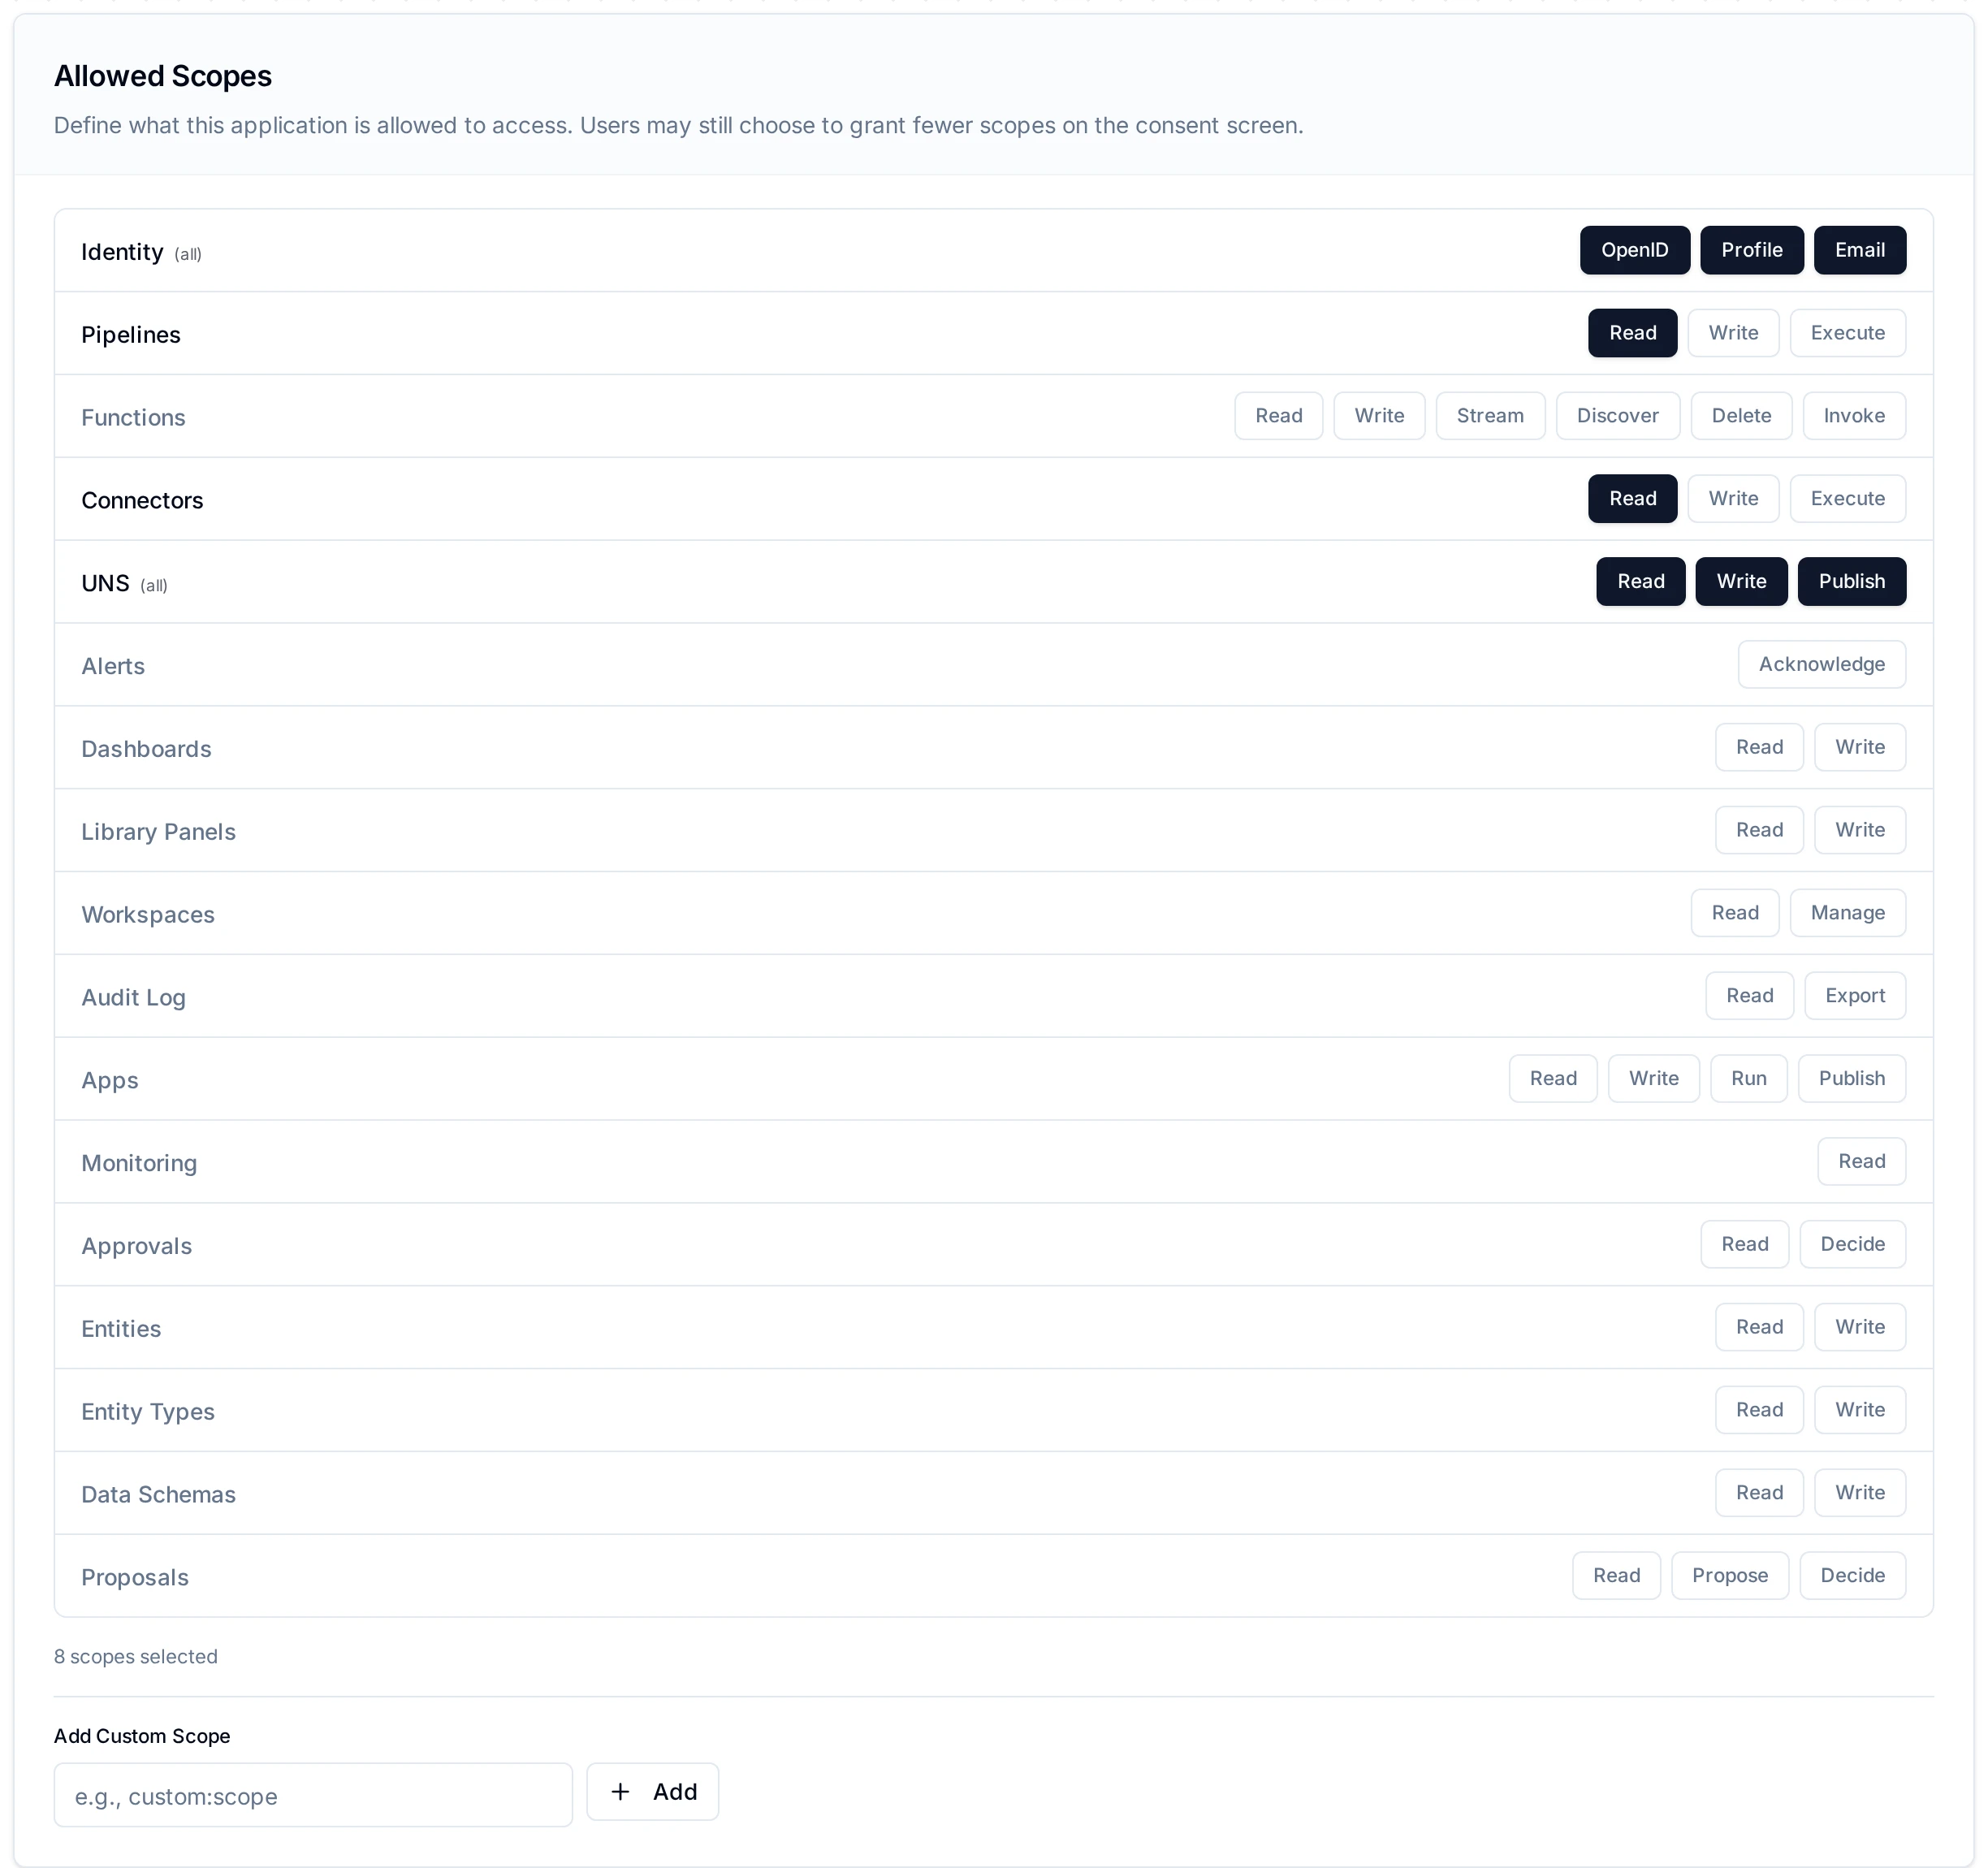
The Allowed Scopes section lists the scopes the client may request, one row per group:
- Identity: OpenID, Profile and Email (
openid,profile,email), the OIDC scopes that identify the signed-in user. They are always offered and are selected on a new client. - Permission scopes: one row per group (Pipelines, Connectors, Functions, UNS, Alerts, Dashboards, Library Panels, Workspaces, Audit Log, Apps, Monitoring, Approvals, Entities, Entity Types, Semantics, Proposals), each with its permissions, for example Read, Write and Execute for Pipelines. Hover a permission to see what it grants; every scope is listed under Available Scopes.
Click a permission to select or clear it, or click a group's name to select or clear the whole group; a fully selected group is marked (all). The number of selected scopes is shown below the list.
The list offers only the permission scopes your own roles fully allow in the client's workspace (the one chosen in the form when registering), the same rule as for personal access tokens, so you may see fewer groups or permissions. Saving refuses a scope your roles do not allow. When the workspace's RBAC level is None, only the Identity scopes are offered.
The Add Custom Scope field adds a scope that is not in the list. MaestroHub accepts only the scopes it knows: besides the listed ones, offline_access and one special-purpose scope, mcp:impersonate (lets the client act as any user over MCP, so only a System Administrator can register or change such a client; a workspace administrator can still disable it). Any other value is refused when you save. The broker.authz scope of earlier versions, which was the external MQTT broker's credential, is removed along with the external broker.
The scopes configured on the client define the maximum set of permissions it can request. During the Authorization Code flow, users may choose to grant a subset of these scopes on the consent screen.
Access (Client Credentials only)
When Client Credentials is selected and you are allowed to assign roles, the form shows an optional Access step. A new client that signs in as itself can do nothing until it has a role, so this is where you give it one up front.
- Tick the roles the client needs. They are granted as soon as the client is created, in the client's workspace.
- You can give only roles whose permissions you hold yourself. A role that includes a permission you do not hold is shown disabled, and names the permissions you lack.
- Registering a client and giving it access to data need different permissions. An Identity Administrator or Security Administrator holds no data permissions, so they can register a client but cannot give it any of these roles; the step says so. A platform administrator or a Workspace Administrator can then give the client a role on its page.
- Roles that manage people's accounts or sign-in (Identity Administrator, Security Administrator and System Administrator) are not offered: only a person can hold them. A role that also manages a workspace's groups, agents or API clients, such as Workspace Administrator, can be given to a client, but the client cannot use those parts of it.
- You can skip the step and add roles later from the client's Roles card.
The allowed scopes still apply: the client can use only what both its roles and its scopes allow.
OAuth2 Flows
Below are two end-to-end examples that walk through the most common grant types. Each example shows how to register the client in MaestroHub and how the application uses it to obtain an access token.
Authorization Code
The Authorization Code flow is designed for applications where a user is present and needs to log in. The application redirects the user to MaestroHub, the user authenticates and approves the requested permissions, and MaestroHub redirects back with an authorization code that the application exchanges for an access token.
The result: Each user logs in with their own MaestroHub credentials. The access token represents that specific user's identity and permissions, so different users see different data based on their roles.
Example: Custom Operations Dashboard
Imagine you are building a browser-based operations dashboard where plant operators monitor real-time UNS topic data, view pipeline statuses, and check connector health. Since the application runs entirely in the user's browser, it cannot store a secret safely, so you register it as a Public Client.
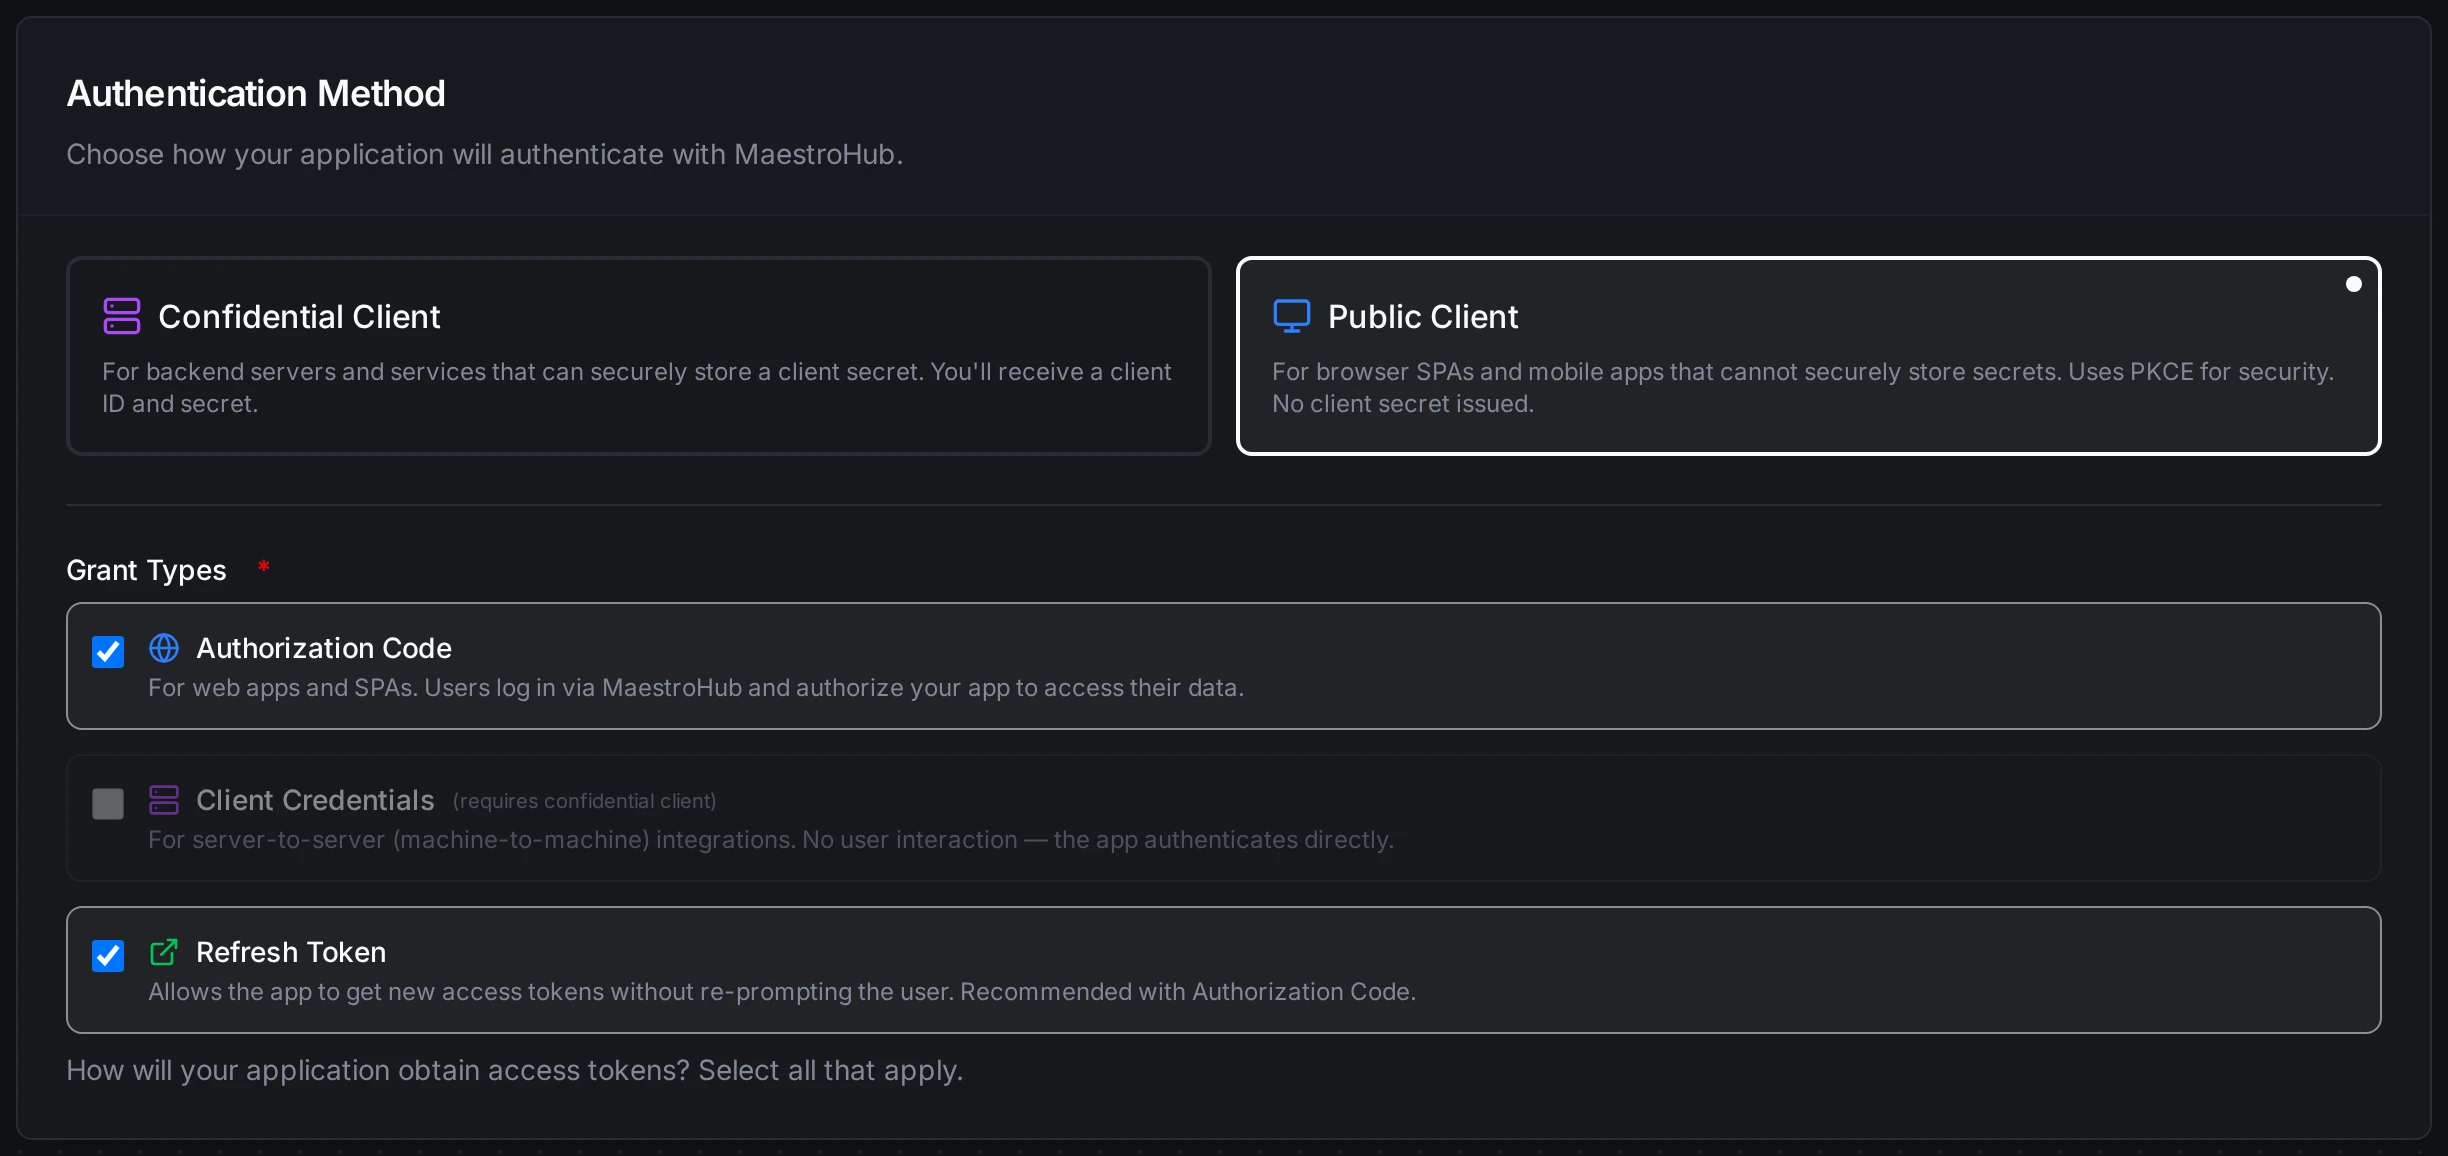
Step 1: Register the client. Navigate to Admin → Identity & Access → API Clients and click Register Application. Select Public Client as the client type and check Authorization Code and Refresh Token as the grant types. Note that Client Credentials is disabled for public clients.
Step 2: Configure redirect URIs. Add the URLs where your dashboard will receive the authorization code after the user logs in. Register both your production URL and a localhost address for development.
Step 3: Select allowed scopes. Grant the scopes your dashboard needs. In this example, the dashboard needs to read pipelines, read connector statuses, and have full access to UNS topics: click Read in the Pipelines and Connectors rows, and click UNS to select its Read, Write and Publish. The Identity scopes (OpenID, Profile, Email), selected by default, identify the logged-in user.
Step 4: Integrate in your application. Configure your OAuth2 library with the client ID and the following MaestroHub endpoints:
| Endpoint | URL |
|---|---|
| Authorization | /api/v1/oauth2/authorize |
| Token | /api/v1/oauth2/token |
The flow works as follows: your dashboard redirects the operator to the MaestroHub login page. After the operator logs in and approves the requested permissions on the consent screen, MaestroHub redirects back to your registered redirect URI with an access token. Your application uses this token to call the MaestroHub API on behalf of the logged-in operator.
Since Refresh Token is enabled, your application can obtain new access tokens automatically when they expire, without prompting the operator to log in again.
Client Credentials
The Client Credentials flow is designed for machine-to-machine integrations where no user is present. The application authenticates directly with its client ID and secret, so there is no login screen or consent prompt.
The result: The application acts as itself, not as any person. It can do only what its roles allow, limited by its allowed scopes, and every action it takes is recorded in the audit log as the client. This is ideal for autonomous background processes that must keep running regardless of who joins or leaves the team.
Example: ERP Production Data Sync
Imagine you have an ERP system that needs to periodically push production order data to UNS topics and read pipeline execution results from MaestroHub. The ERP runs on your own server, so it can safely store a client secret, so you register it as a Confidential Client.
Step 1: Register the client. Navigate to Admin → Identity & Access → API Clients and click Register Application. Select Confidential Client and check Client Credentials as the grant type.
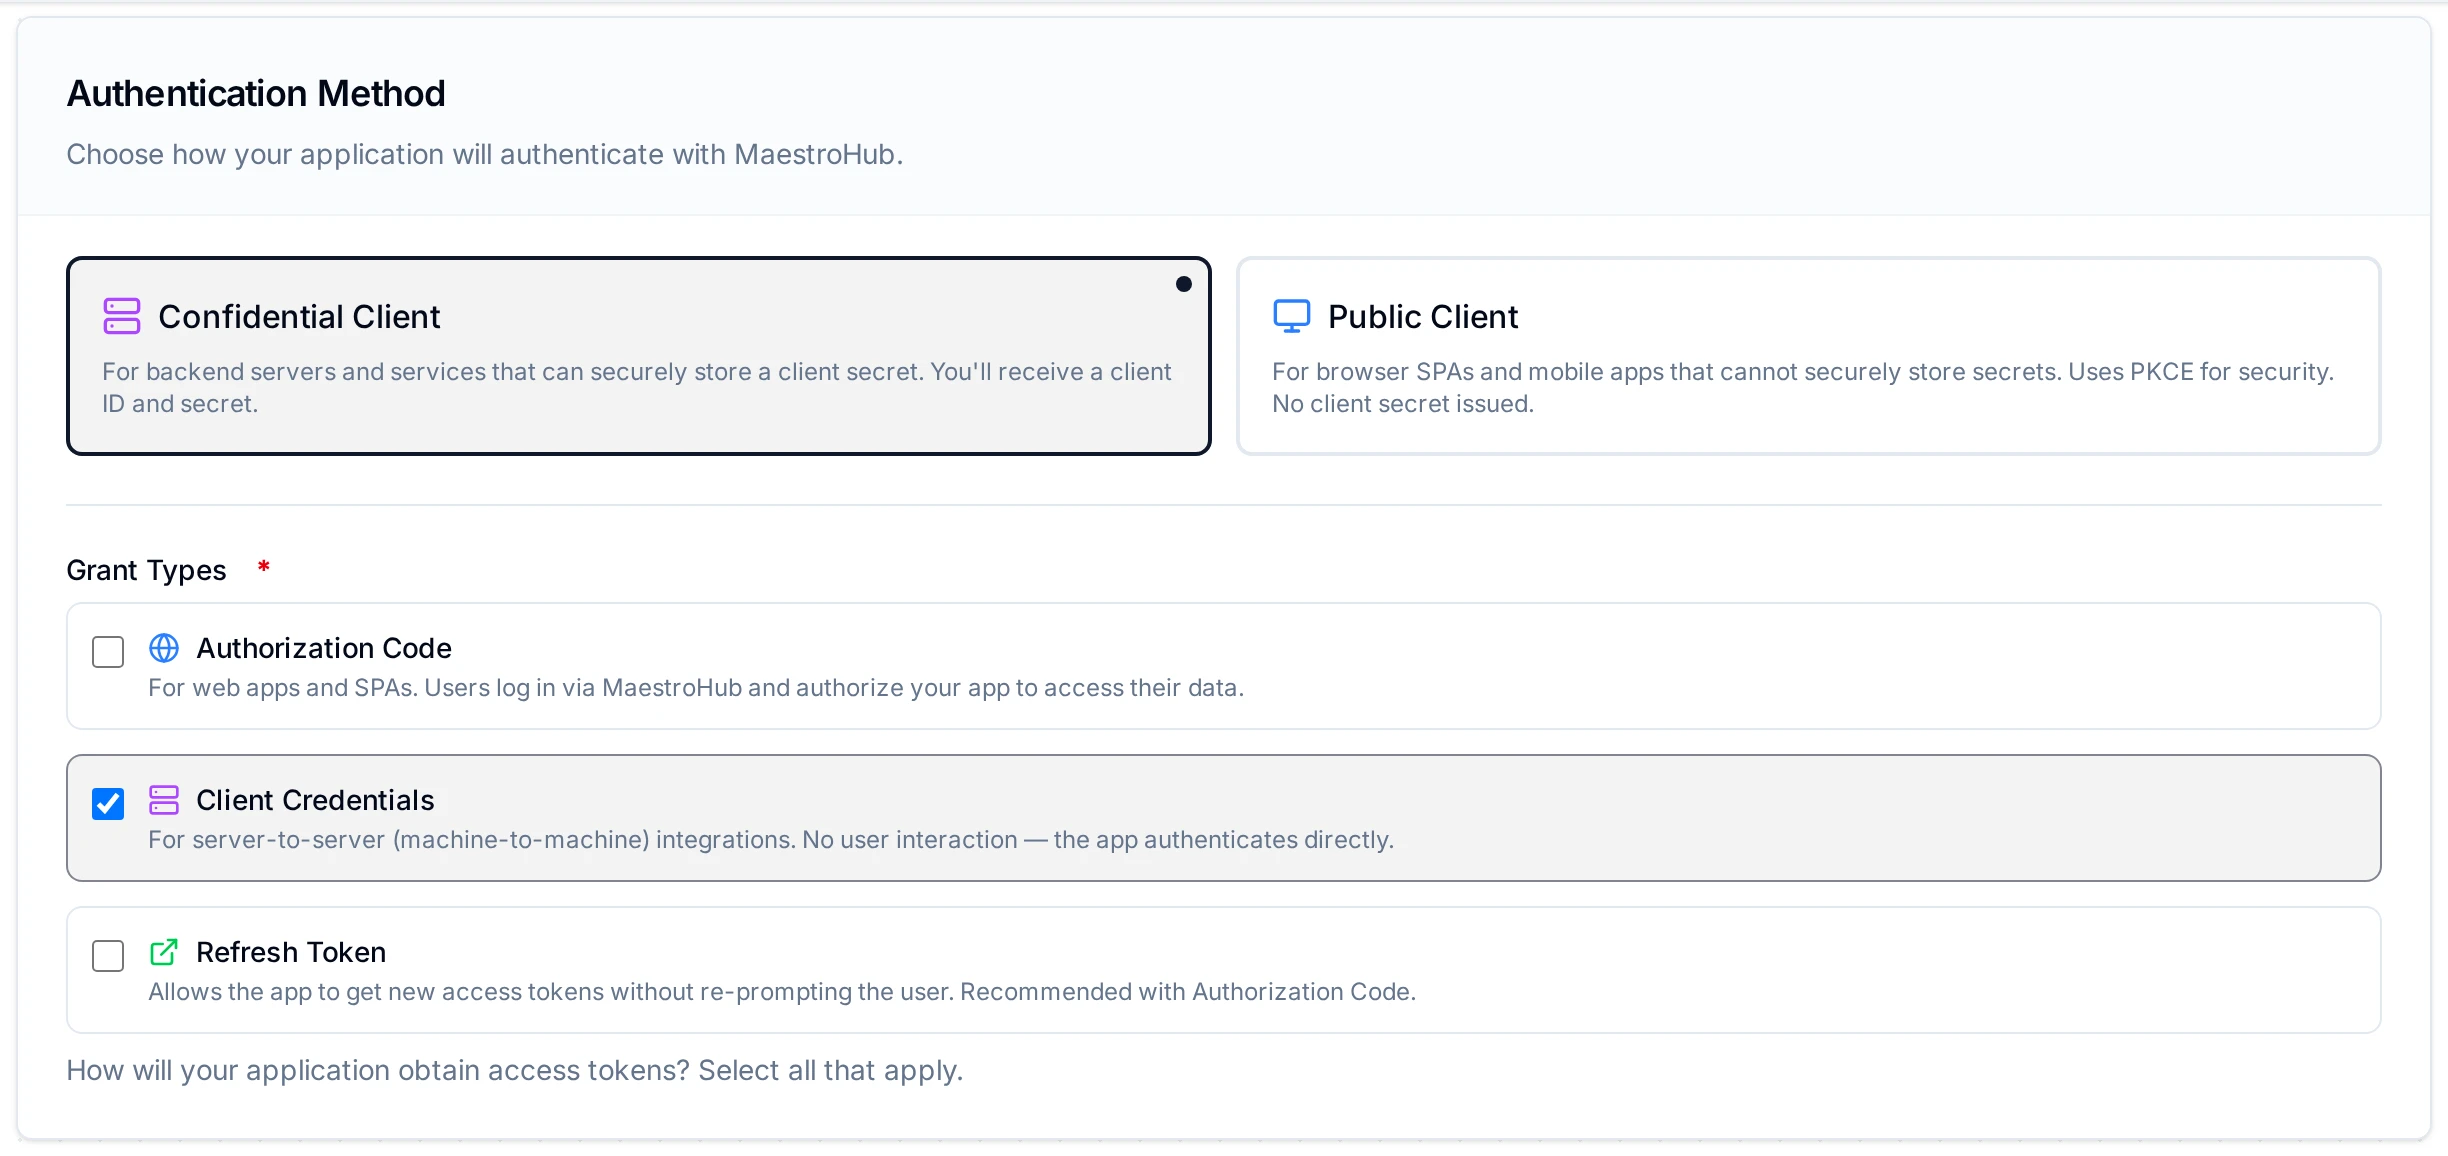
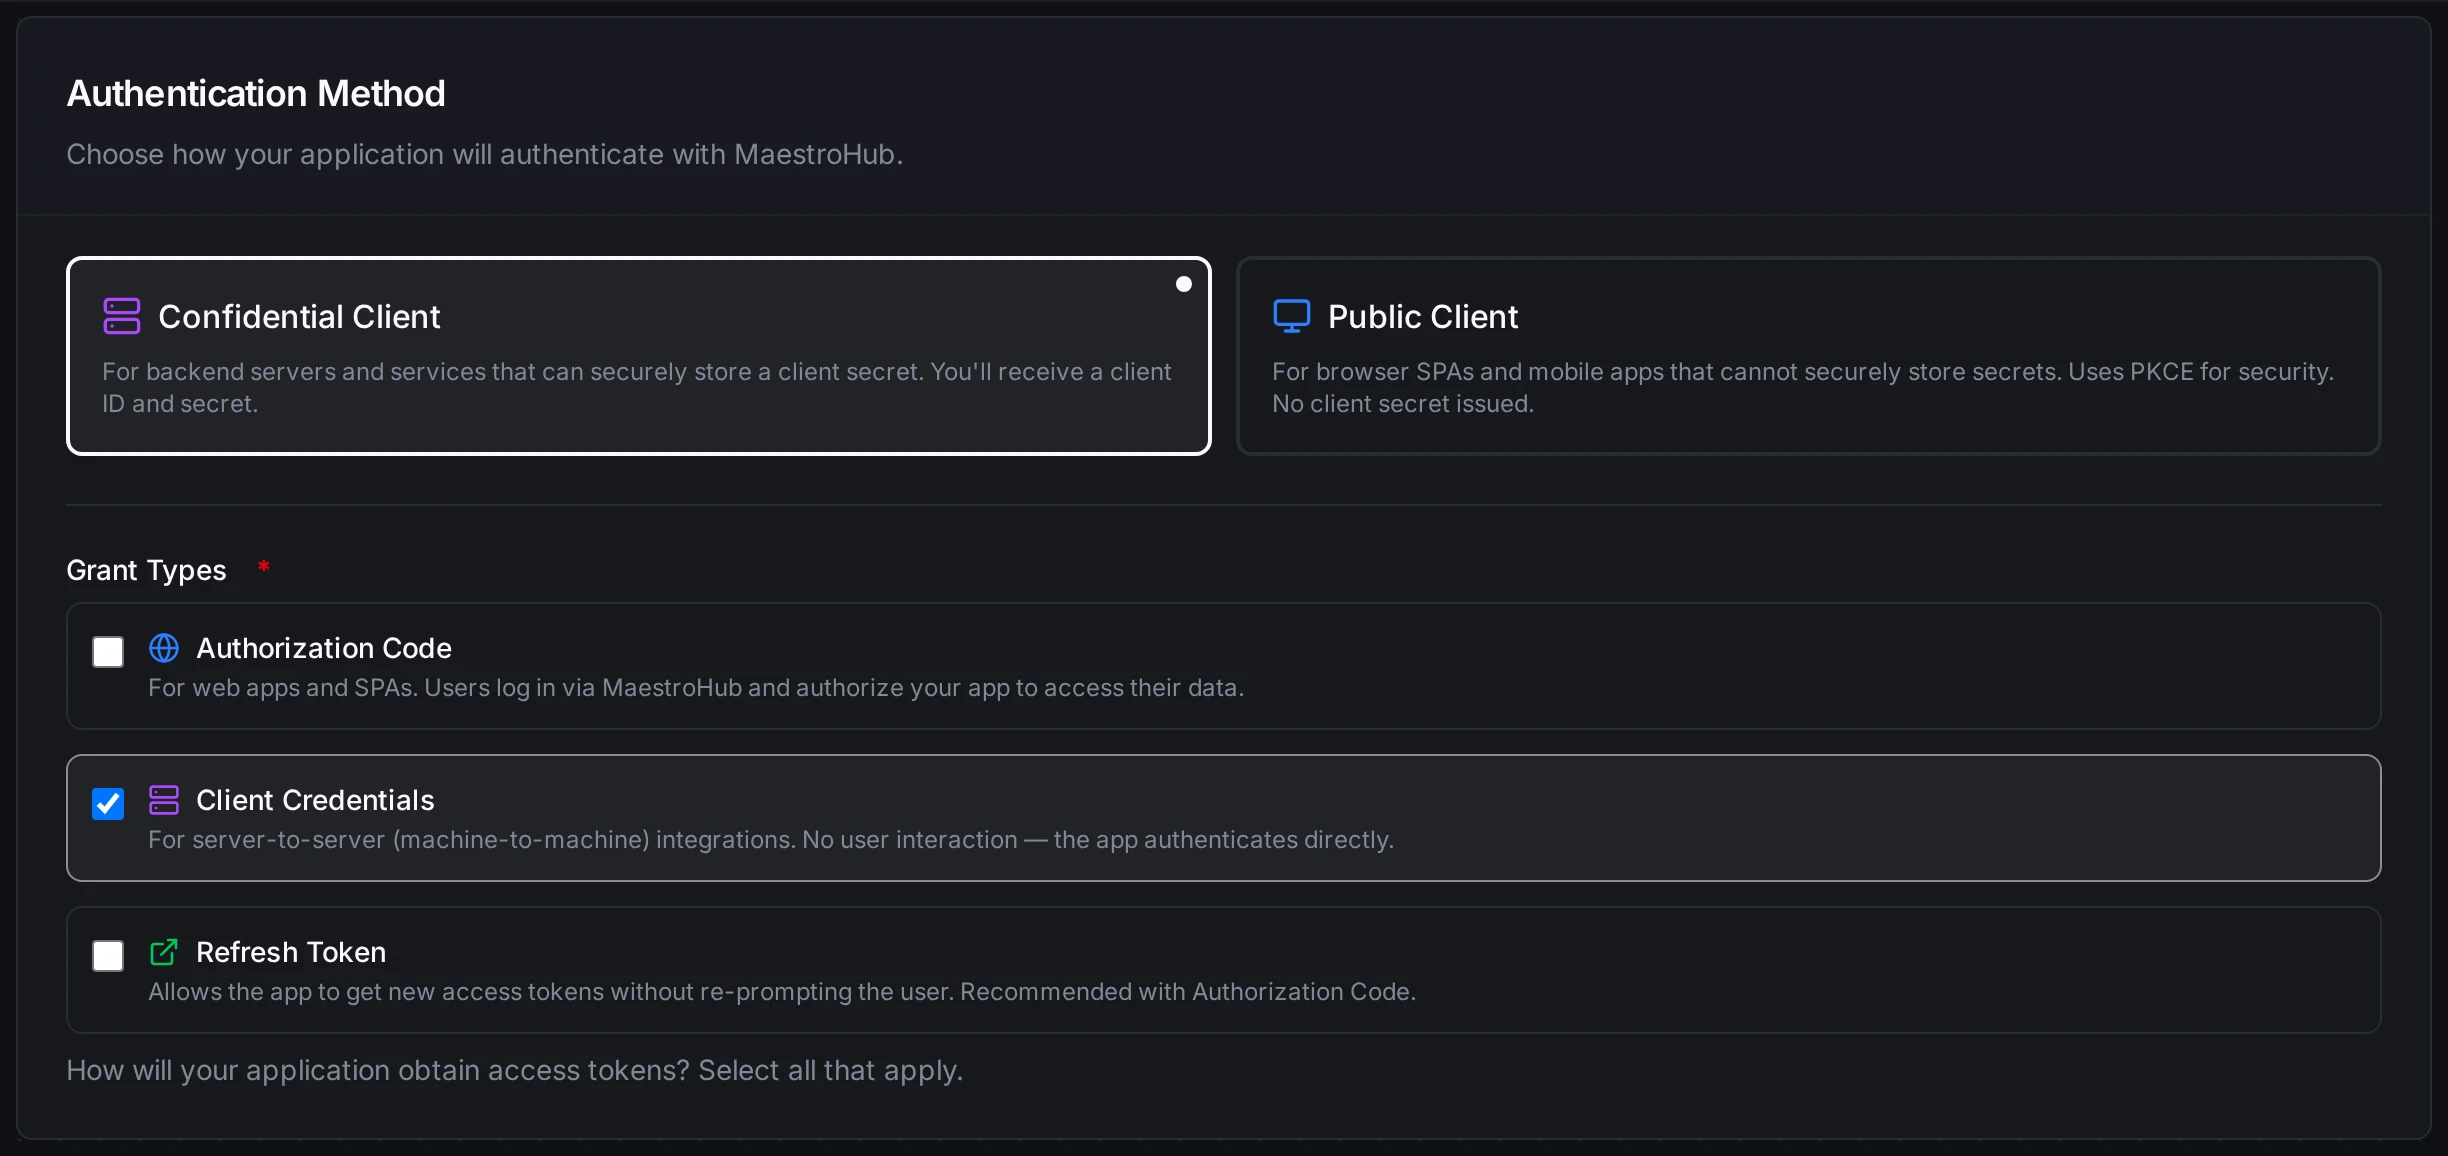
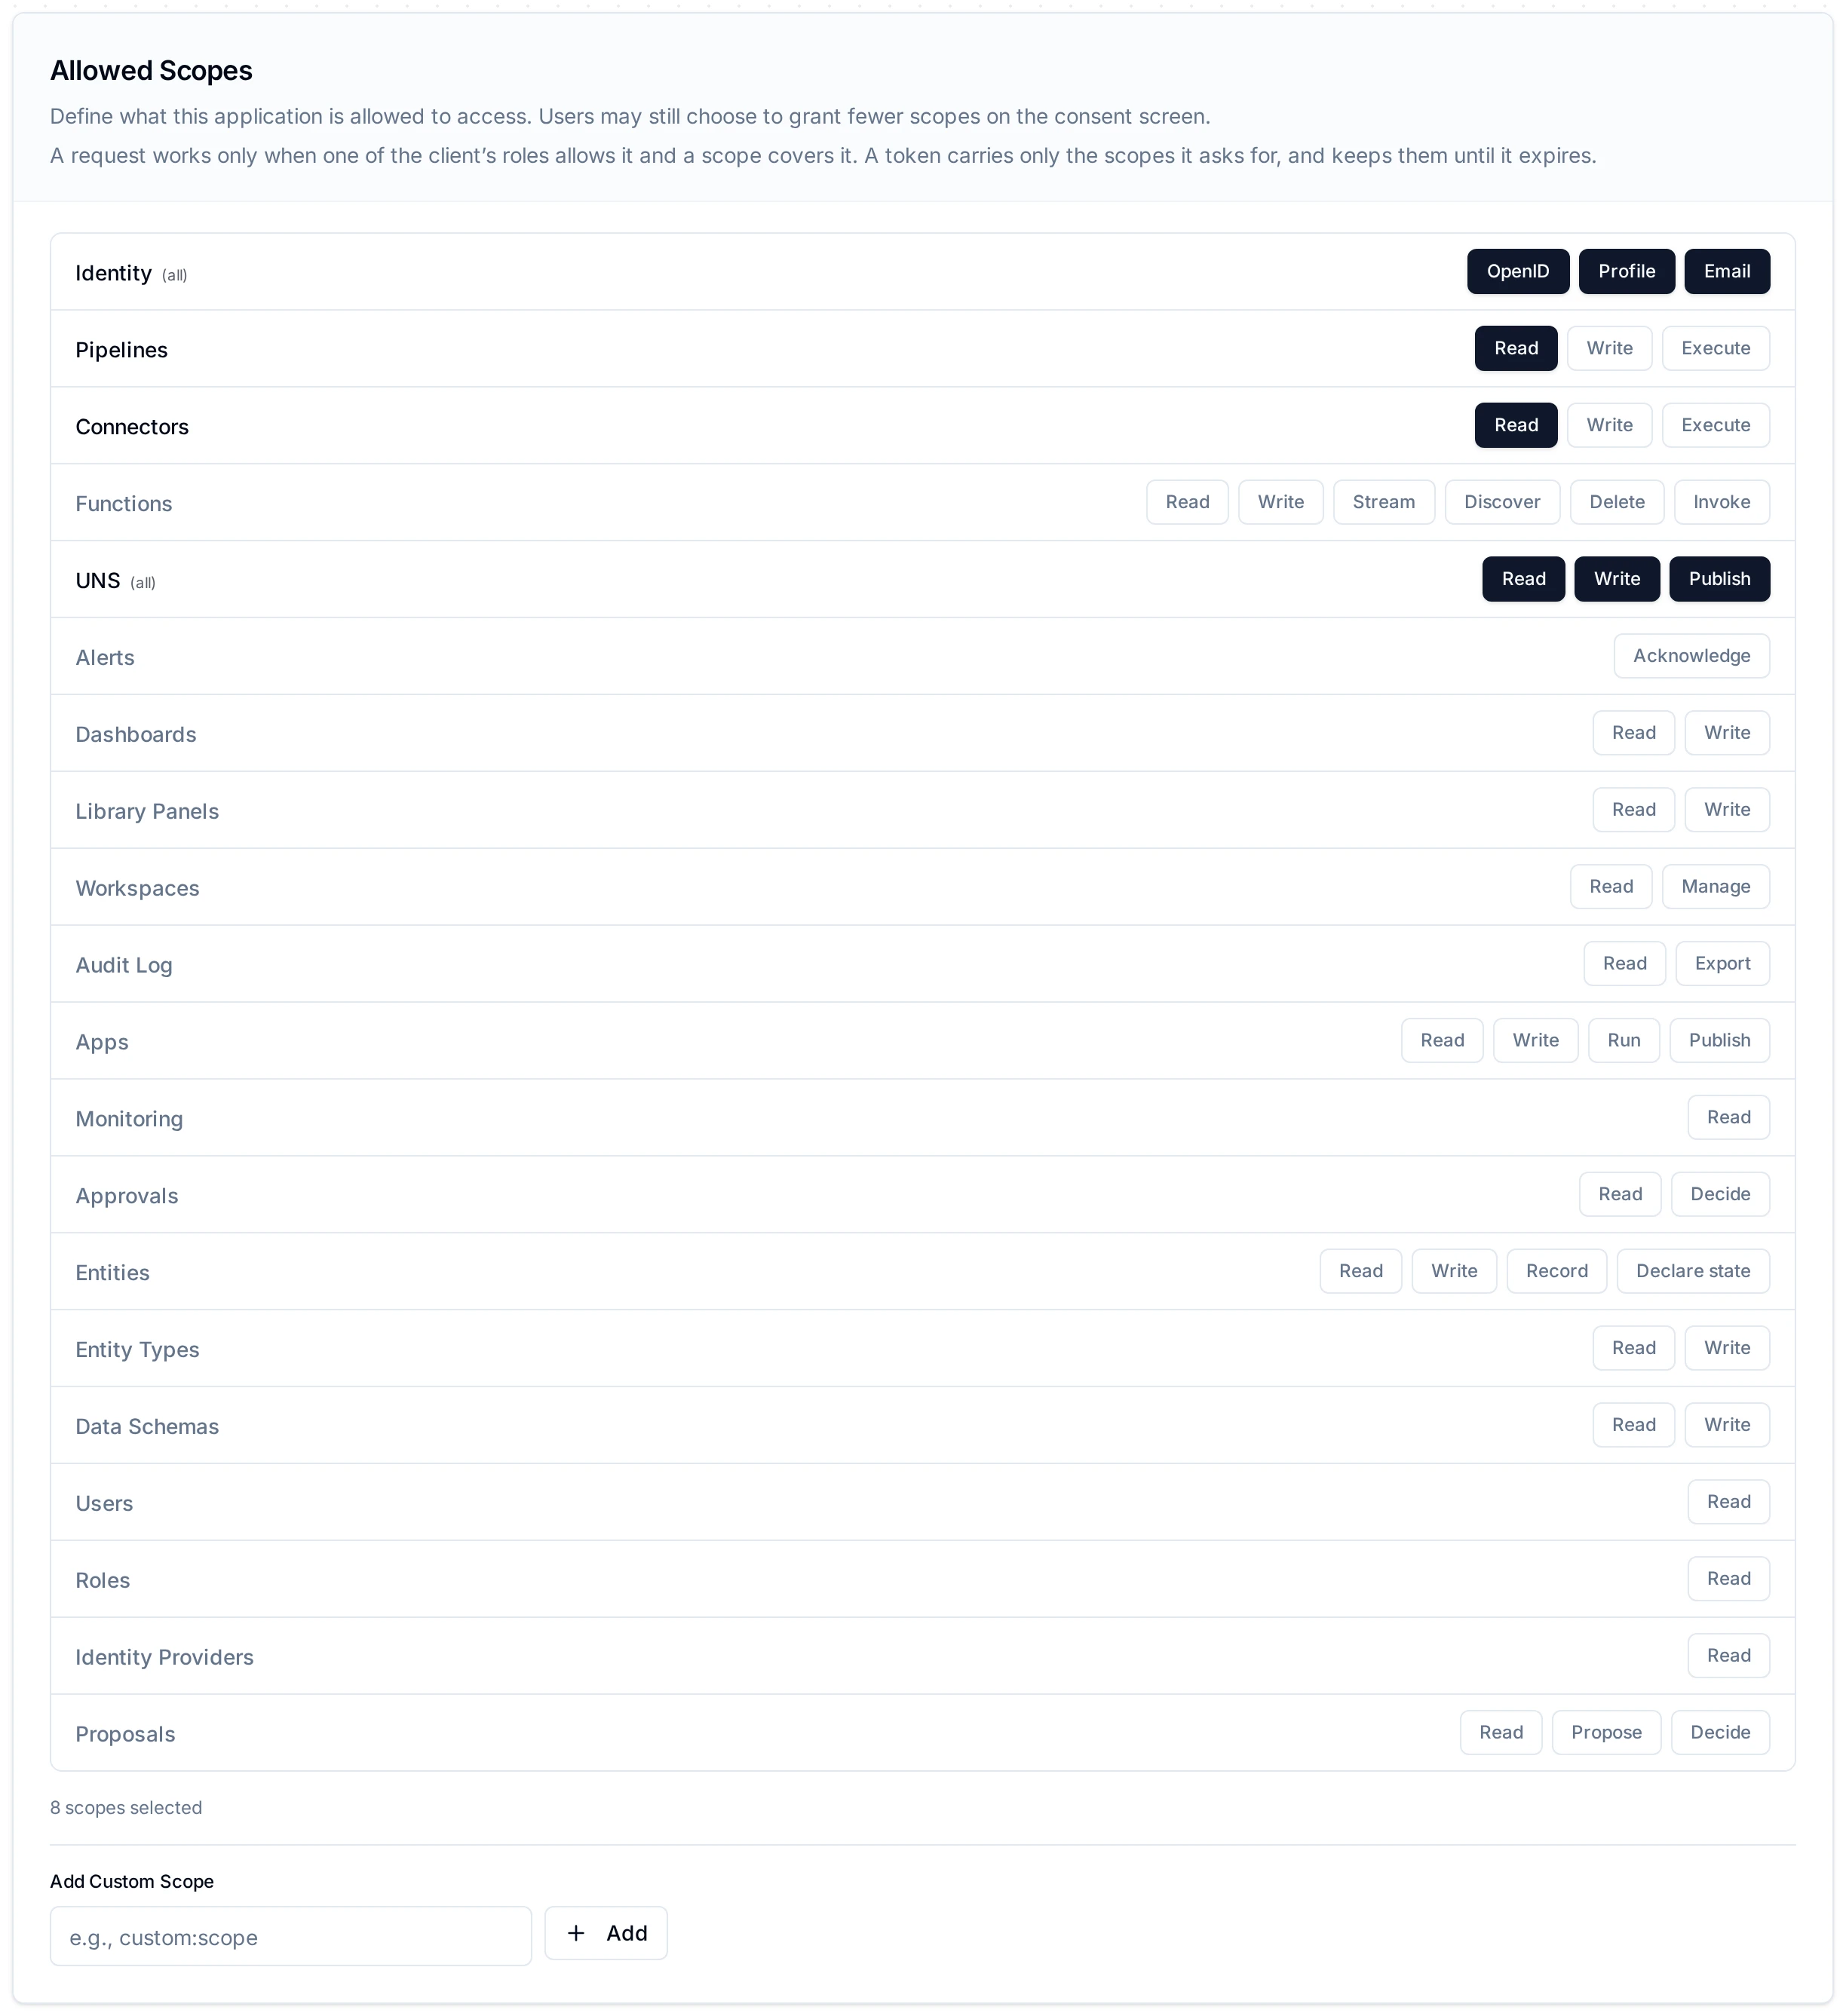
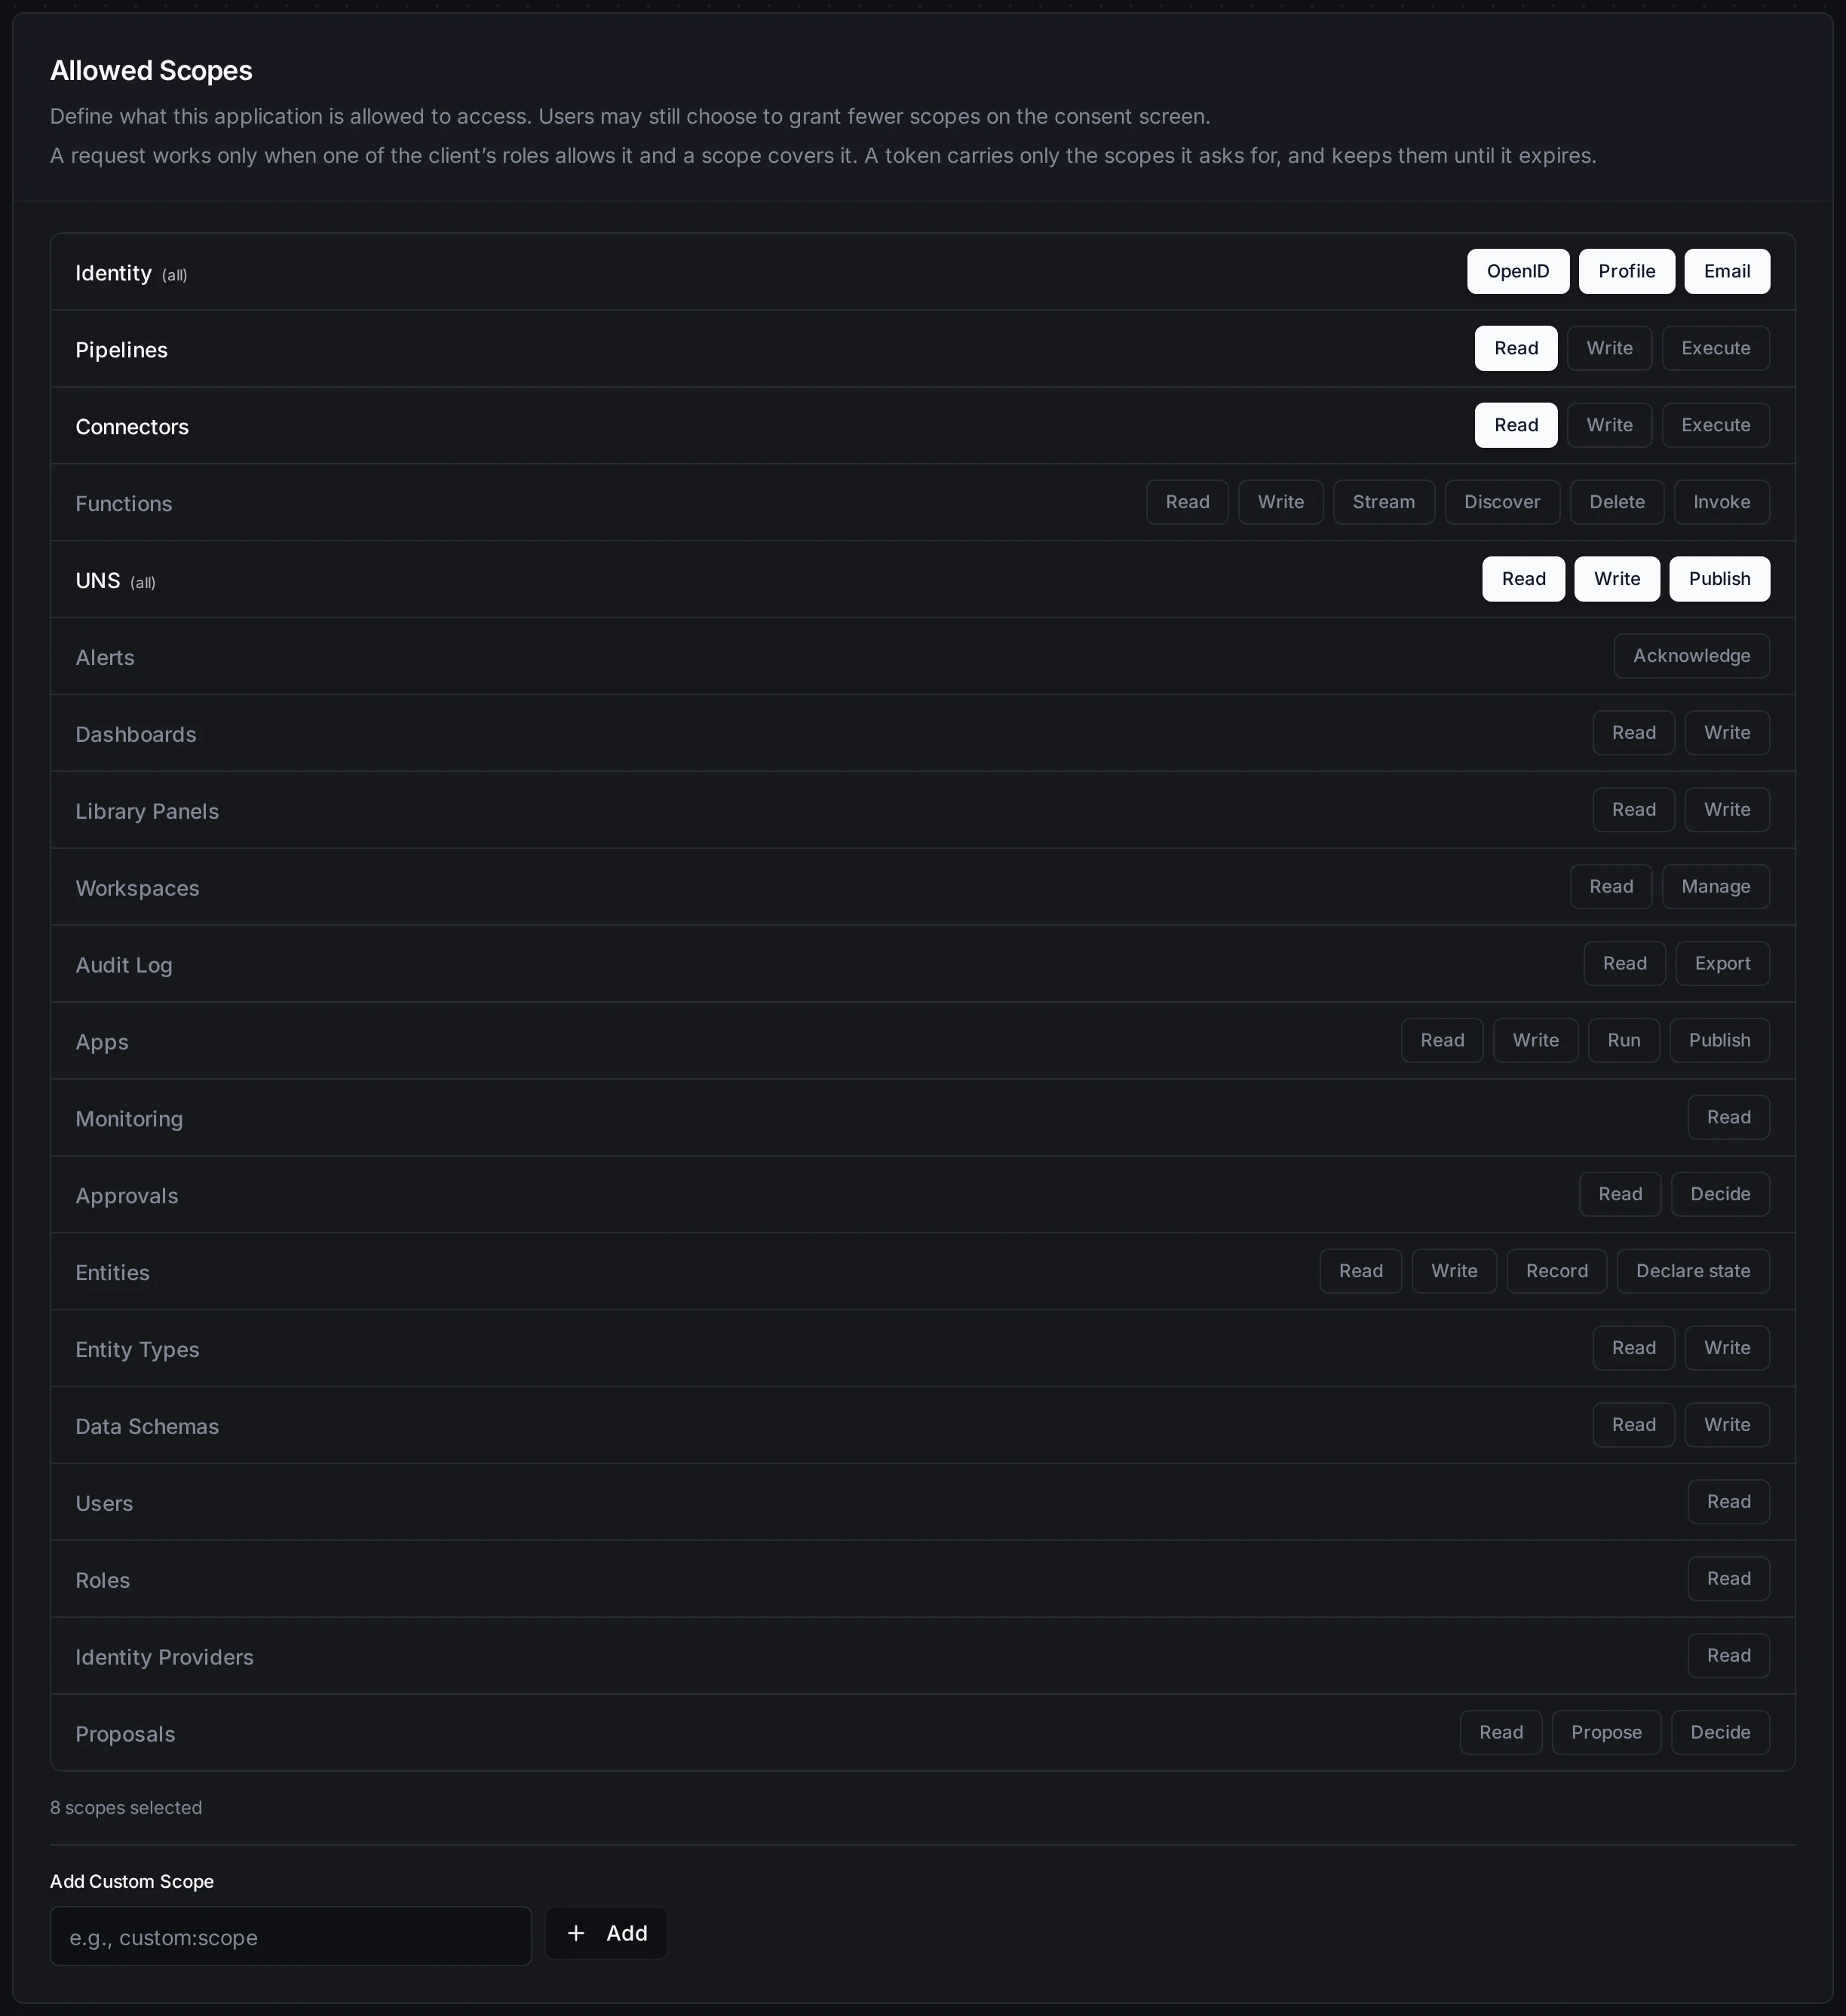
Step 2: Select allowed scopes. Grant the scopes your ERP needs. In this example, the ERP needs to read pipelines, read connector statuses, and have full access to UNS topics for publishing production data.
Step 3: Give the client access. In the Access step, tick the roles the ERP needs, for example a role that can publish to the UNS and read pipelines. Without a role the ERP gets a token but every request it makes is refused. The scopes from step 2 still limit what it can use, so pick roles and scopes that both cover the work.
Step 4: Save the client credentials. After clicking Register Application, the Application Registered dialog appears with your Client ID and Client Secret. Use the copy buttons to save both values immediately. The dialog also lists the next steps for integrating with your application: the authorization endpoint (/api/v1/oauth2/authorize) and the token endpoint (/api/v1/oauth2/token).
The dialog then reports what the Access step did:
- Access granted lists the roles the client now holds.
- A role that could not be granted is listed with the reason, for example a role whose permissions you do not hold yourself. The client is still created.
- If no role was granted, the dialog warns This client can't do anything yet. Give it a role under Roles on the client's page, or share something with it, for example a topic from Data Explorer → Share, where it appears under API Clients.
- If roles were granted, the dialog checks them against the client's scopes, names any scope the roles cannot use or any the roles would use but that is not selected, and shows the scopes to request in a token. See What the client can do.
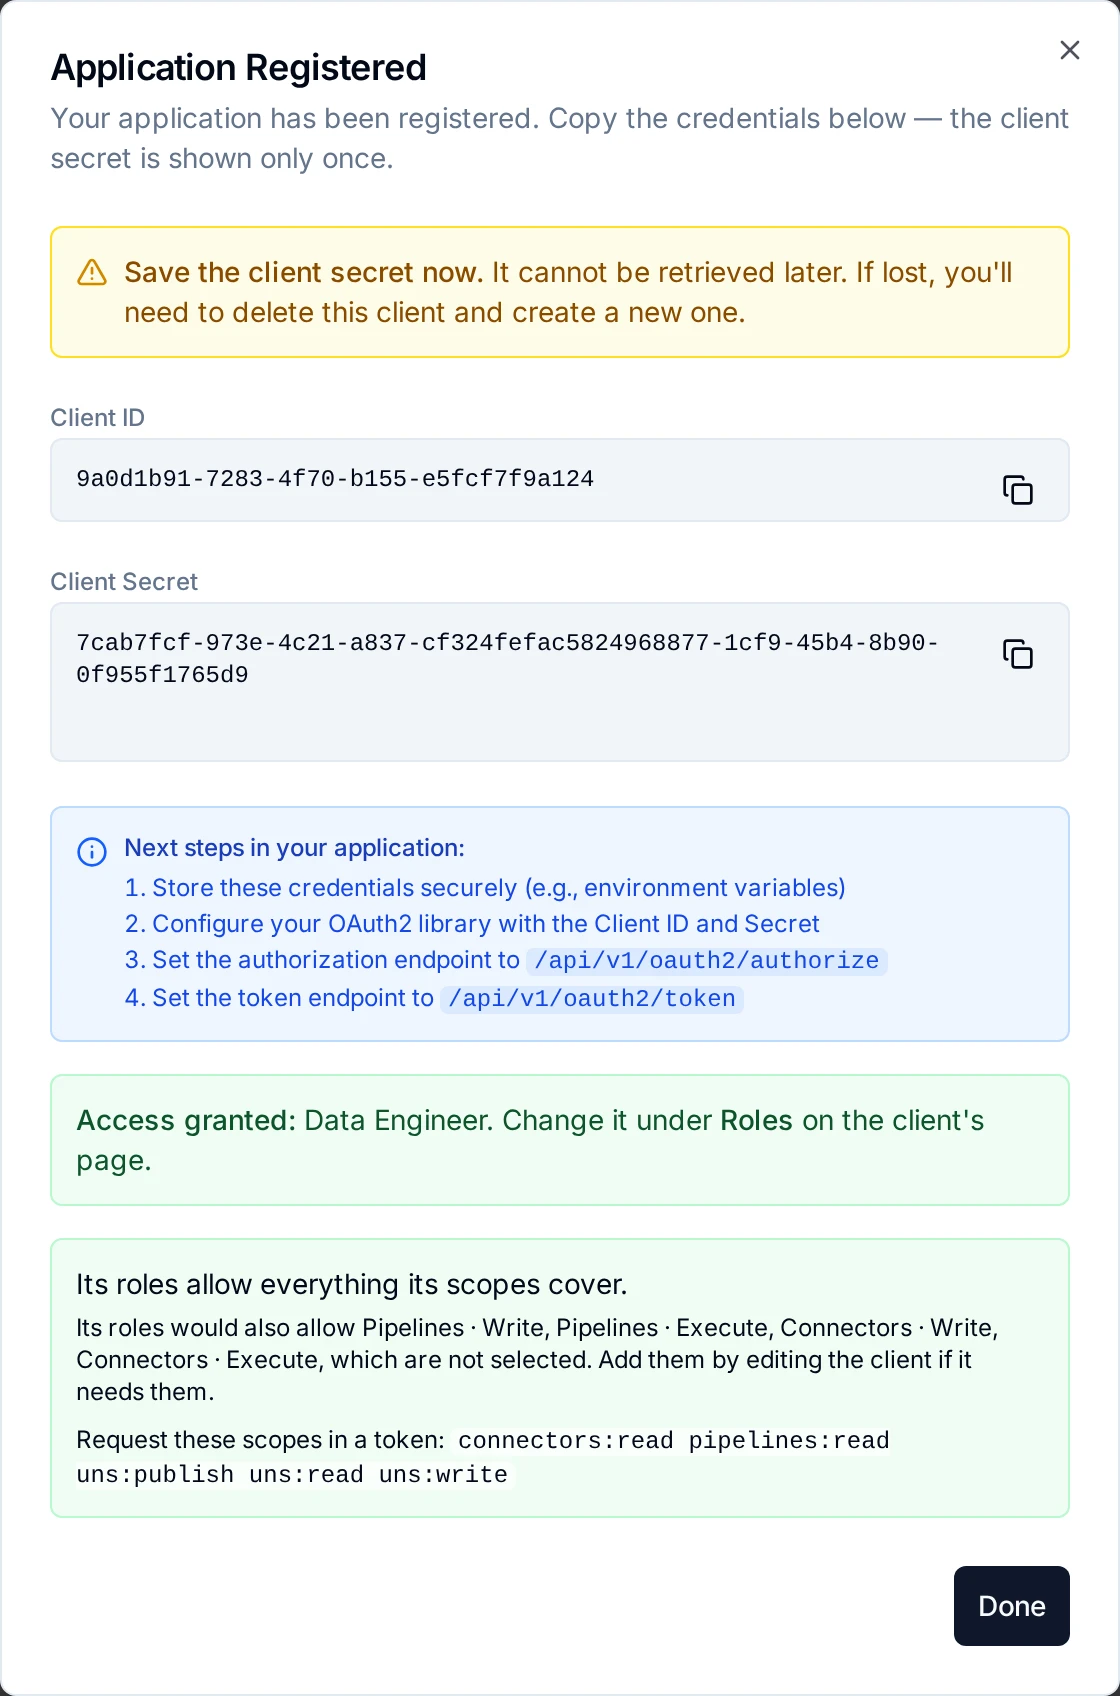
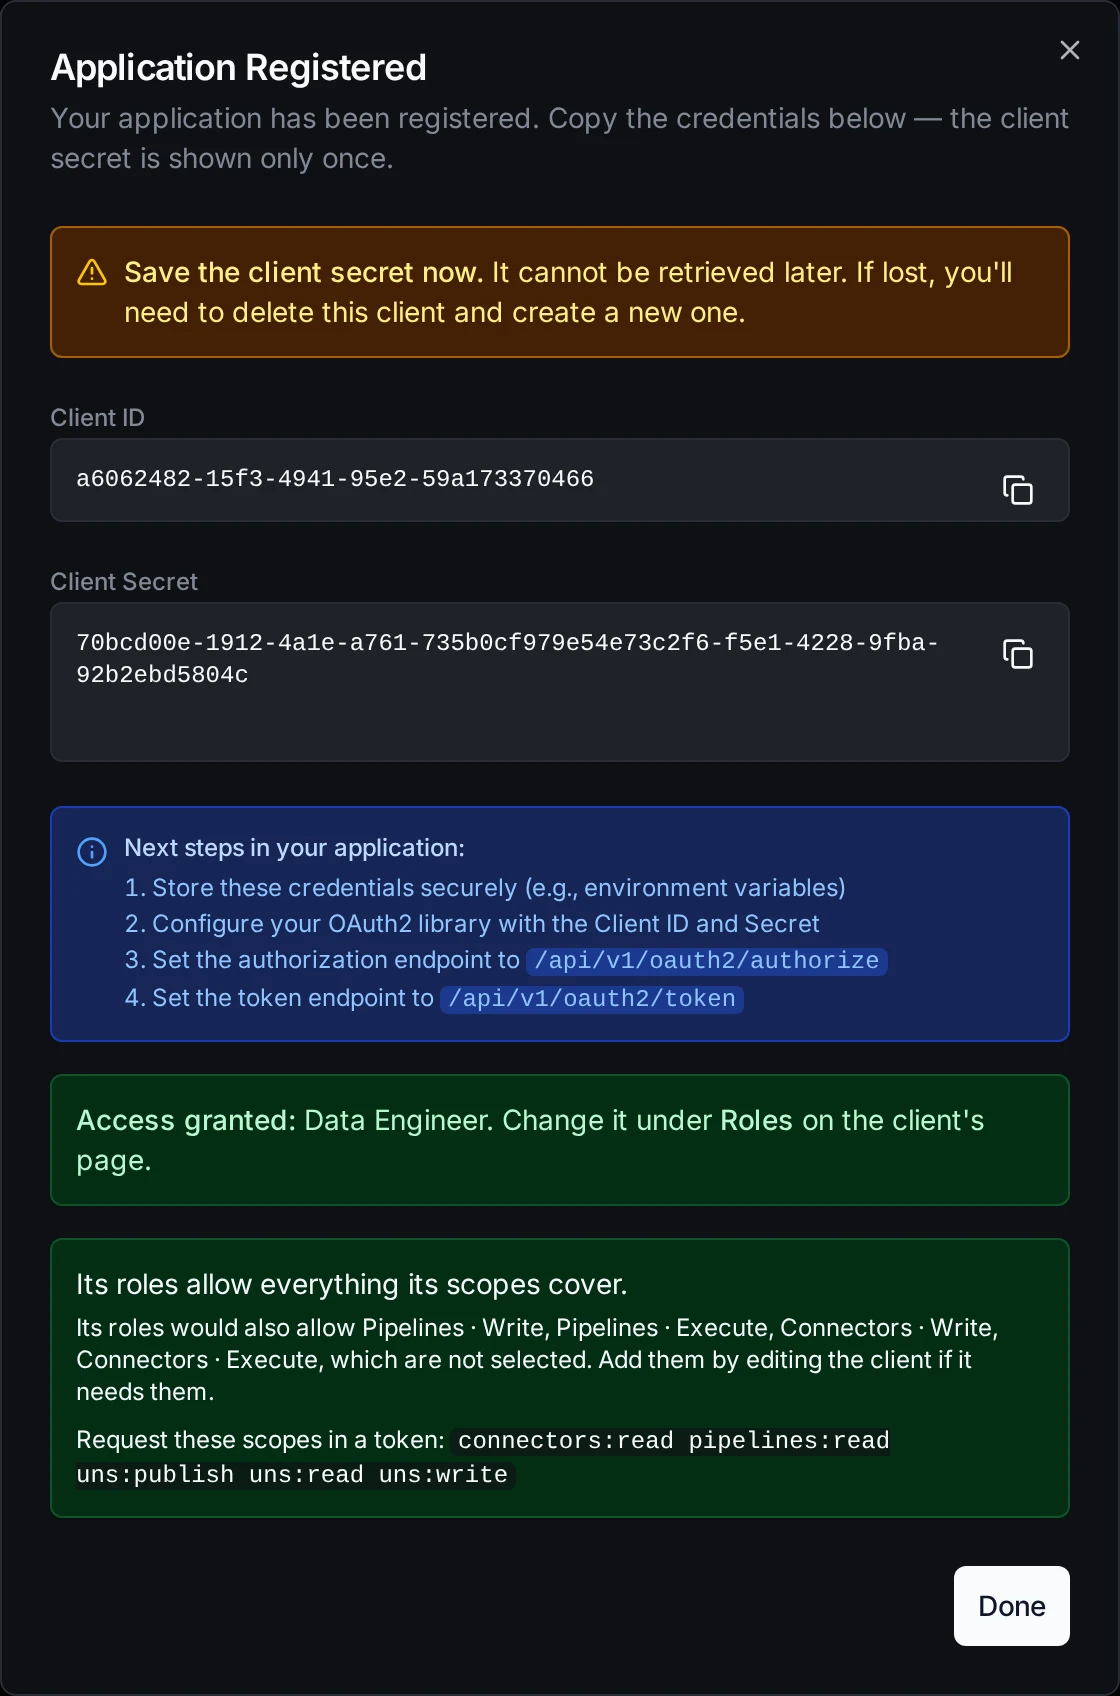
The client secret is displayed only once in this dialog. It cannot be retrieved later; the secret is stored as a hash and the plaintext is never kept. If you lose the secret, you must delete the client and create a new one.
Step 5: Integrate in your application. Configure your ERP's HTTP client with the client ID, client secret, and the token endpoint (/api/v1/oauth2/token). The ERP authenticates directly with these credentials; no browser or user interaction is needed. MaestroHub returns an access token that the ERP includes in subsequent API requests.
Name the scopes the ERP needs in the token request's scope parameter, for example scope=pipelines:read uns:read uns:write uns:publish. A token carries only the scopes it asks for: one that asks for none can do nothing, whatever the client's roles. The client's page shows the exact string under Scopes to request in a token.
When the access token expires, the ERP simply requests a new one with the same client credentials. All API actions performed with this token appear in the audit log as the client itself.
Example: Claude Desktop as an API client
Claude Desktop can use MaestroHub's MCP server as a Client Credentials client through mcp-remote, which exchanges the client ID and secret for a token and fetches a new one when it expires. Register the client as above, give it roles, and add this to Claude Desktop's claude_desktop_config.json under mcpServers:
"maestrohub": {
  "command": "npx",
  "args": [
    "-y", "mcp-remote",
    "https://<your-host>/api/v1/mcp",
    "--client-credentials",
    "--token-endpoint", "https://<your-host>/api/v1/oauth2/token",
    "--static-oauth-client-info", "{\"client_id\":\"<client id>\",\"client_secret\":\"${MAESTRO_CLIENT_SECRET}\"}",
    "--static-oauth-client-metadata", "{\"scope\":\"<scopes to request>\",\"token_endpoint_auth_method\":\"client_secret_post\"}",
    "--header", "X-Workspace-ID:<workspace id>"
  ],
  "env": { "MAESTRO_CLIENT_SECRET": "<client secret>" }
}
Use the client's Scopes to request in a token string for <scopes to request>. For a server on plain HTTP, such as a local test install, add "--allow-http". mcp-remote keeps a token until it expires, so after changing the client's scopes restart Claude Desktop and remove the stored token (the .mcp-auth folder in your home folder), or wait for it to expire. Role changes need no restart: they apply to the next request.
Managing Clients
After registering your clients, you can manage them from the API Clients list. The list shows all registered applications with their client type, grant types, scopes, and status at a glance.
Editing a Client
Open the client detail view and click Edit. You can update the following fields:
- Application name and description
- Redirect URIs
- Allowed scopes
Grant types, client type (public/confidential), and response types cannot be changed after creation. If you need to change these, delete the client and create a new one.
For a Client Credentials client, the form checks the scopes you select against the client's roles as you edit, and lists any that do not line up (see What the client can do). Saved scopes apply to new tokens; a token already issued keeps its scopes until it expires.
Roles
The client's page has a Roles card that controls what a Client Credentials client may do in its workspace. What the client can actually do is its roles limited by its allowed scopes: an action needs both a role that allows it and a scope that covers it.
- Add a role or remove one. Each role shows who assigned it and when.
- Roles apply to the client's own workspace, the one it was registered in.
- Roles that manage people's accounts or sign-in (Identity Administrator, Security Administrator and System Administrator) are not offered: only a person can hold them. A role that also manages a workspace's groups, agents or API clients, such as Workspace Administrator, can be given to a client, but the client cannot use those parts of it.
- Roles your licence does not include are shown locked, with the reason.
- You can give only roles whose permissions you hold yourself. A role that includes a permission you do not hold is shown disabled, and names the permissions you lack.
- A change can take a few seconds to reach a client that is already connected.
- A client with no roles shows the warning This client can't do anything yet.
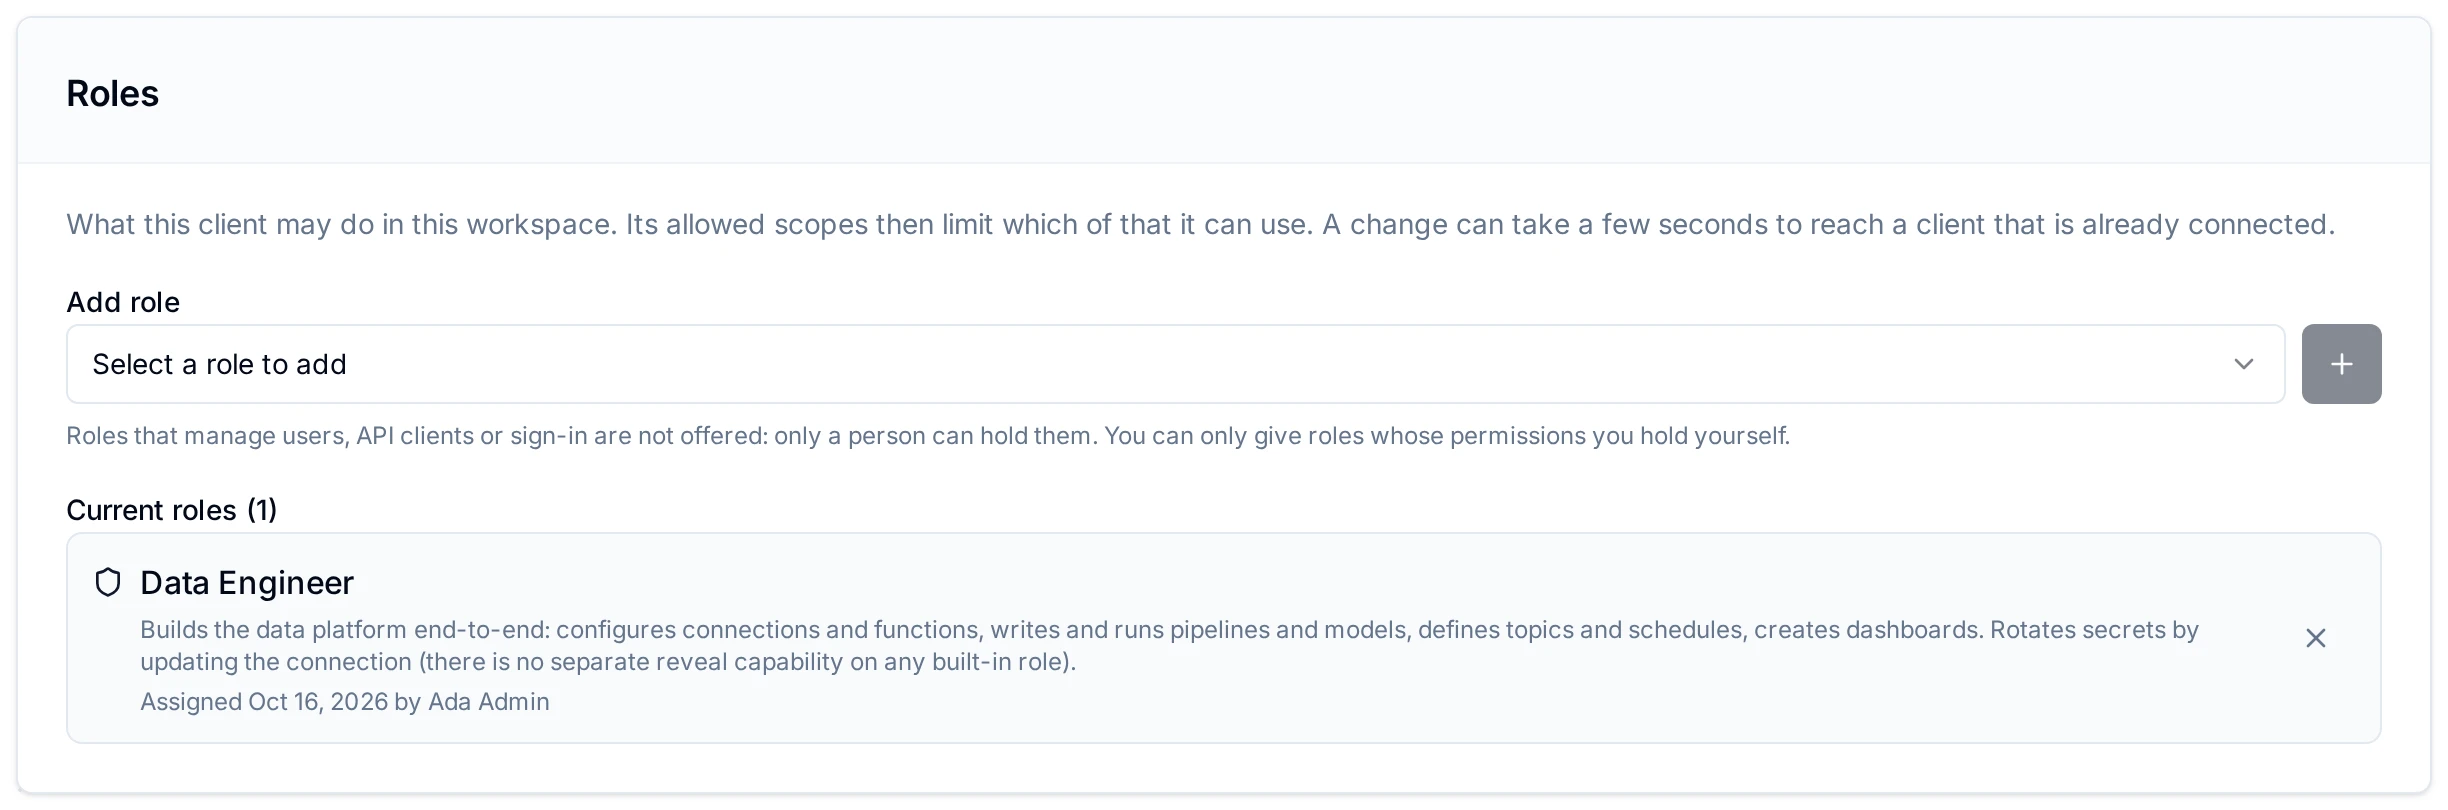
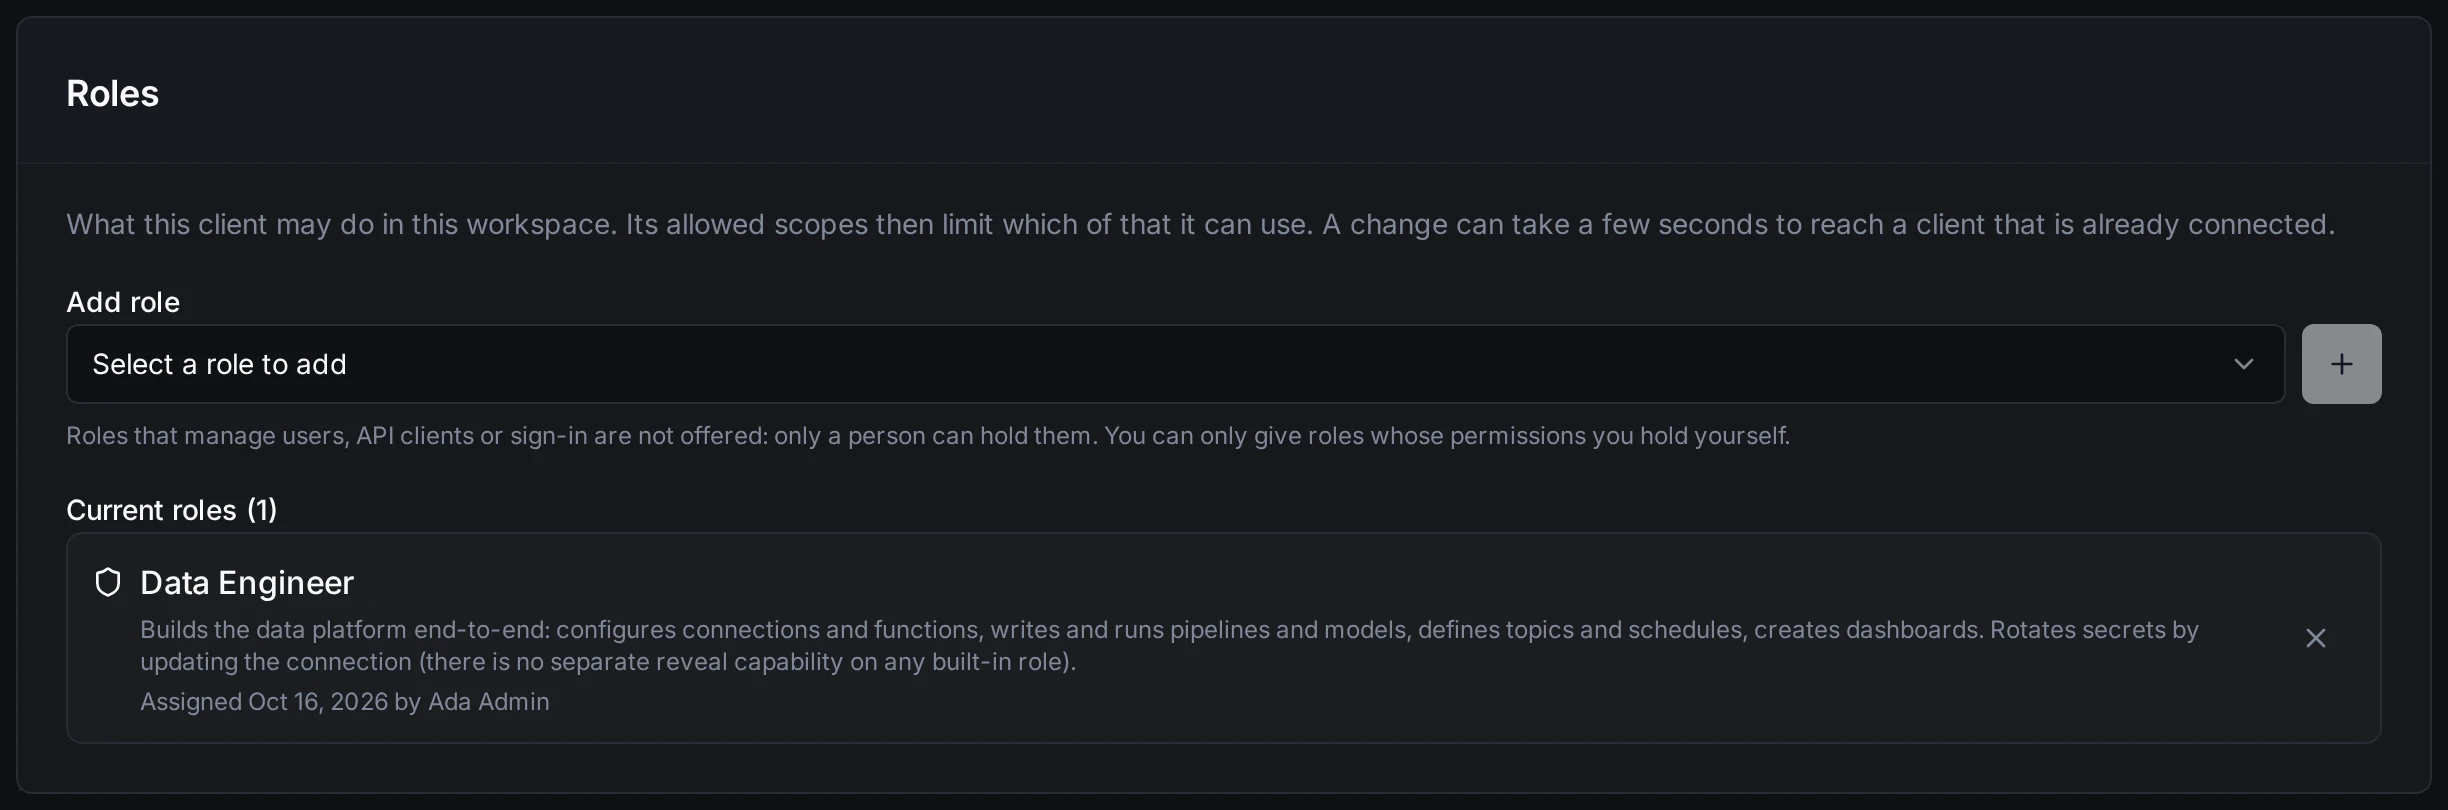
A client that uses Authorization Code has no roles of its own: it acts as each person who signs in, so the card says so instead of listing roles.
Seeing the card's roles needs permission to read roles; adding and removing them needs permission to assign and revoke roles.
What the client can do
A request by a Client Credentials client works only when one of its roles allows it and a scope covers it. A token also carries only the scopes it asks for, and keeps them until it expires (one hour by default). So a client can hold Workspace Administrator and still be refused a change, because its token asked only for read scopes.
The What this client can do card, below Roles, checks the two together and says what is missing for each scope:
| Shown | Meaning |
|---|---|
| Works | The scope is selected and the client's roles allow everything it covers. |
| Partly | The scope is selected, but the roles allow only some of it, for example only reading. The card names what no role allows. |
| No role | The scope is selected, but no role lets the client use any of it. Add a role. |
| Not selected | The roles allow this, but the scope is not selected and no selected scope covers it. Edit the client to add it. |
A scope is never reported missing when another selected scope already covers it: Pipelines · Write includes reading pipelines, so a client with it does not need Pipelines · Read too.
Groups where the roles allow something but no scope of the group is selected are named in one line under the list. Scopes that are not tied to roles, such as openid, are listed separately.
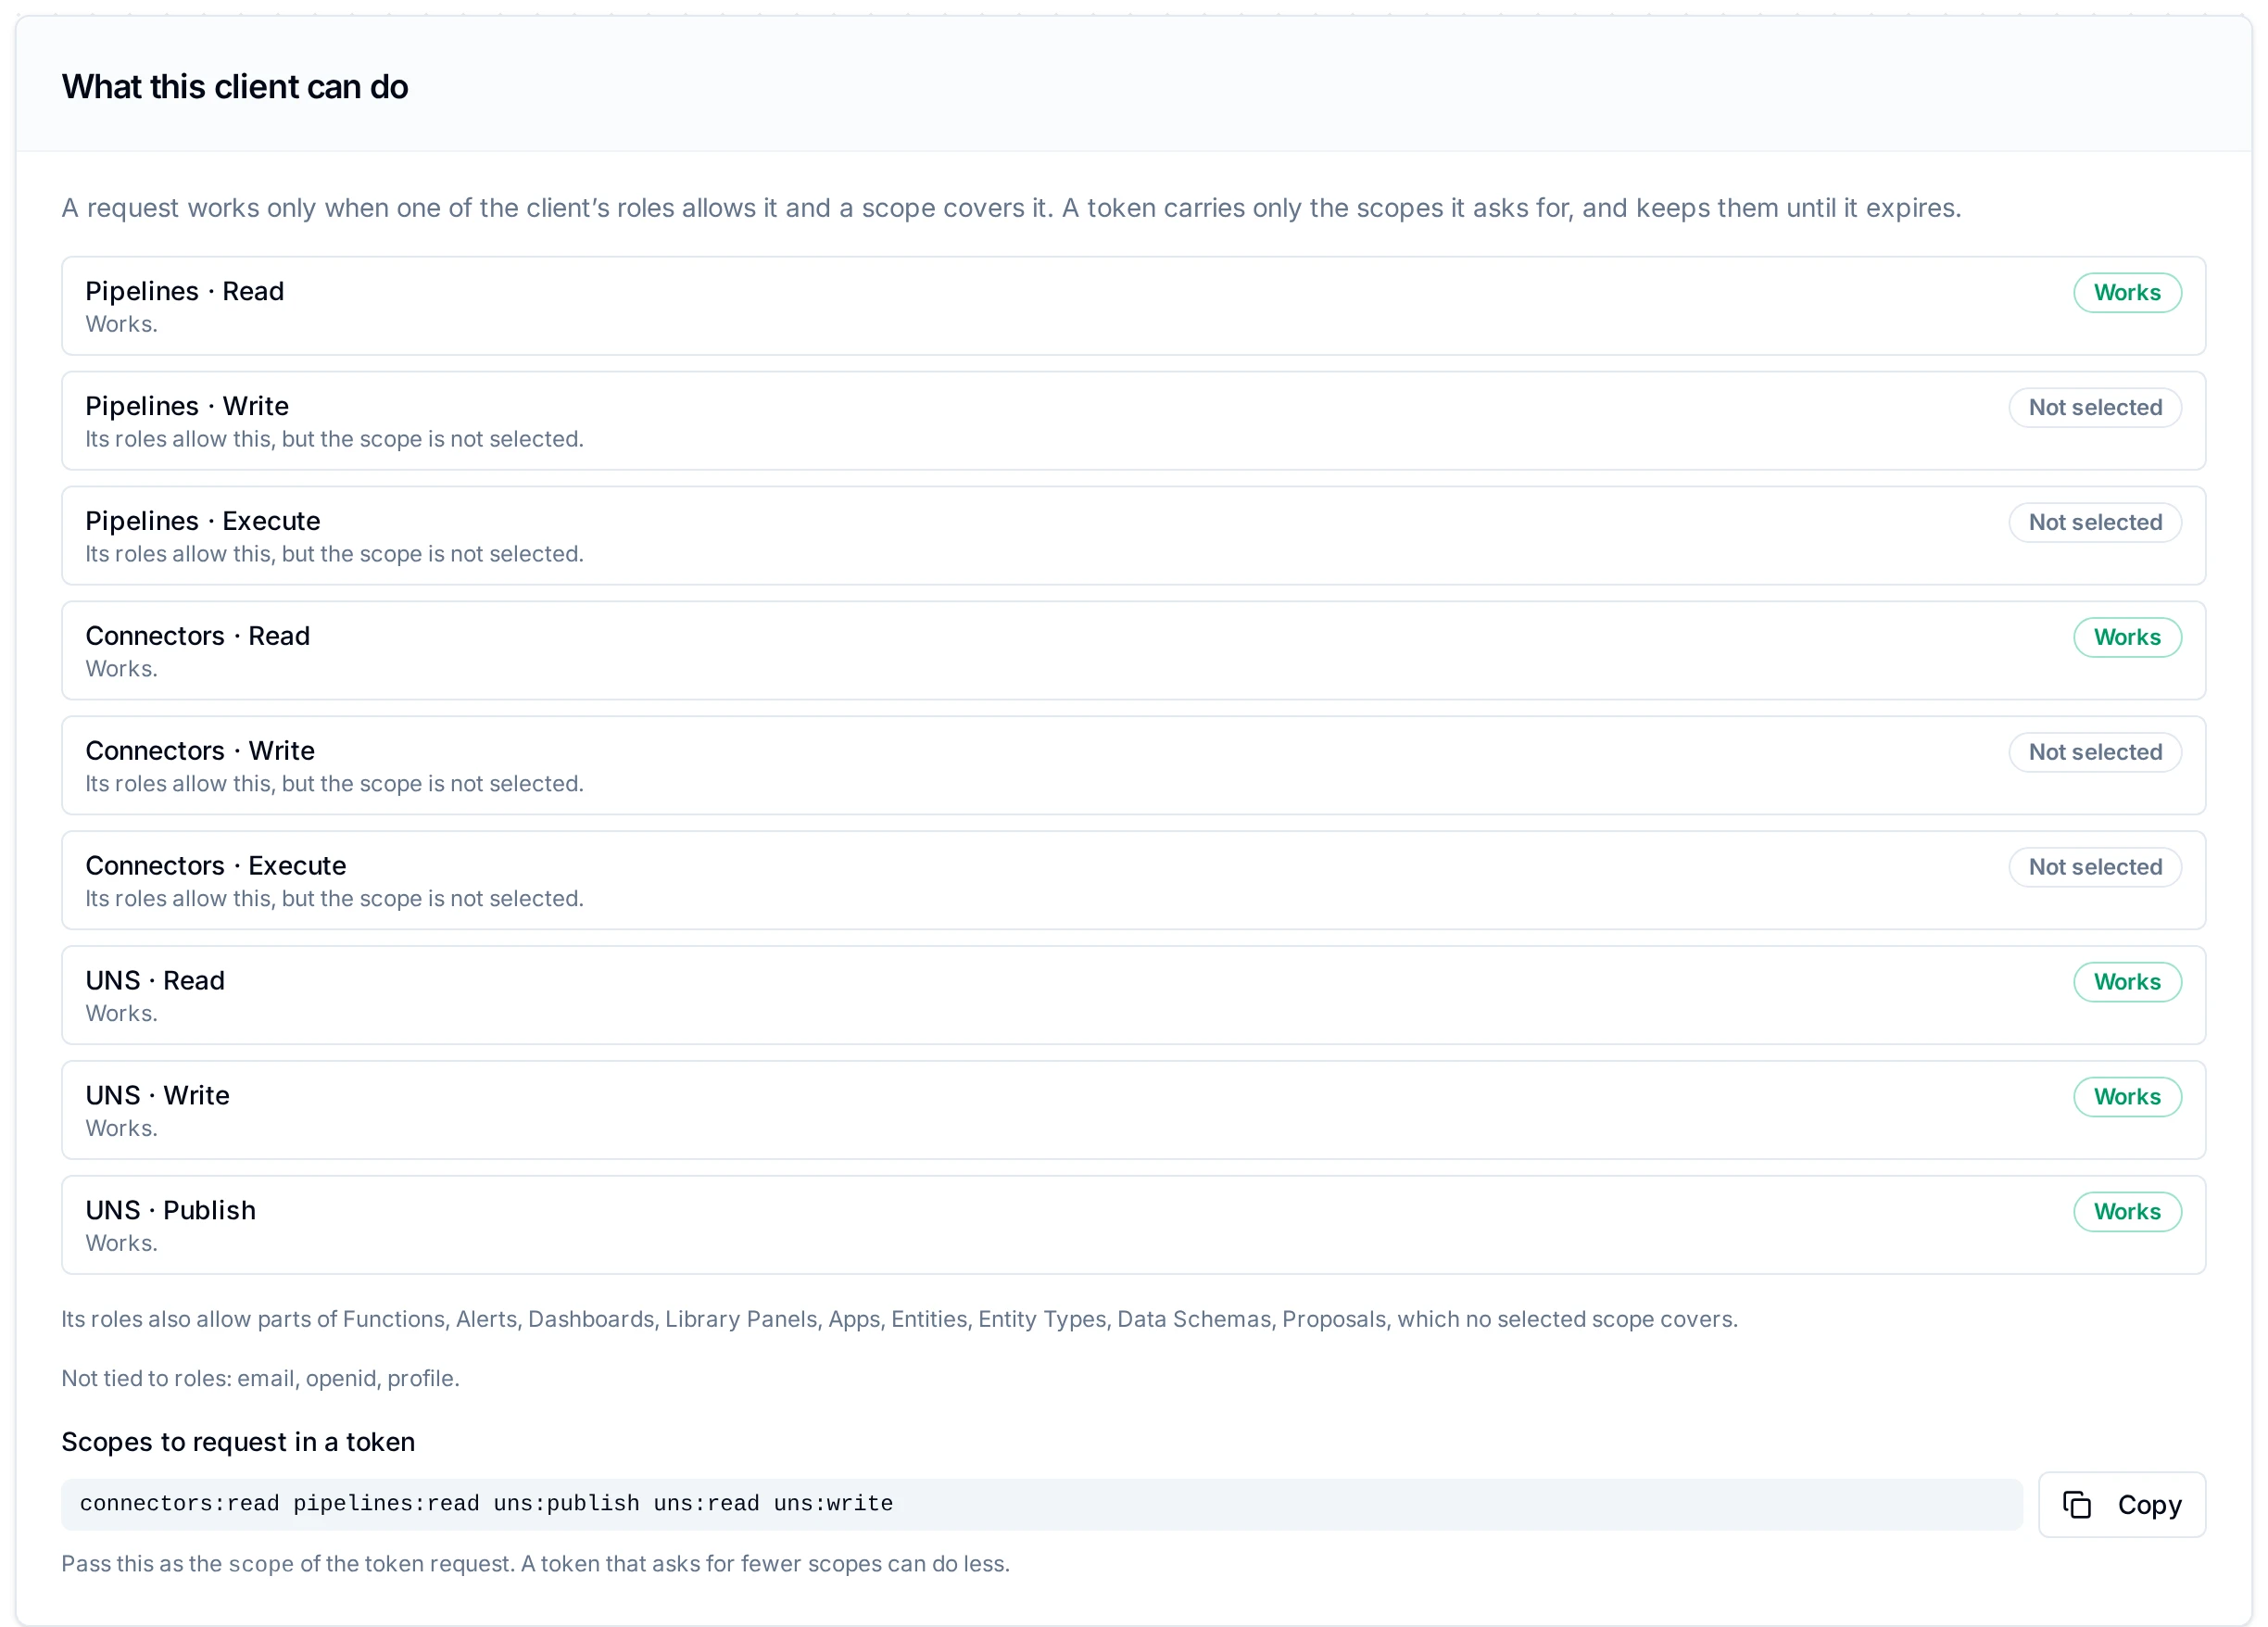
The card also shows Scopes to request in a token: the client's scopes as one space-separated string, ready to pass as the scope of a token request. A token that asks for fewer scopes can do less, and one that asks for none can do nothing.
The same check runs in two other places:
- Editing a client: the form checks your unsaved scope selection against the client's current roles and lists what does not line up before you save. Saved scopes apply to new tokens; a token already issued keeps its scopes until it expires.
- Registering a client: after the Access step grants roles, the Application Registered dialog lists what does not line up and the scopes to request.
The card is shown to people who can read roles. On a licence without access control, roles are not enforced, so the card says that only the scopes limit the client.
Managing roles through the API
The same operations are available on the API. Use the client's Client ID and the ID of the workspace the client was registered in (see Finding Your Workspace ID):
| Operation | Request |
|---|---|
| List a client's roles | GET /api/v1/authz/clients/{id}/roles (needs permission to read roles) |
| Check what a client can do with given scopes | GET /api/v1/authz/clients/{id}/access?scopes=pipelines:read,pipelines:write (needs permission to read roles) |
| Give a client a role | POST /api/v1/authz/roles/assign |
| Remove a role from a client | DELETE /api/v1/authz/roles/remove |
Assigning and removing take the same body:
{
  "subject": "client:<client id>",
  "role": "<role name>",
  "domain": "workspace:<workspace id>"
}
role is the role's name, for example Compliance.Auditor, not its display name. The role list, GET /api/v1/authz/roles, marks each role that a machine identity can never hold with a human_only_actions field listing the actions that make it so; assigning such a role to a client is refused. Each role's confers field lists every permission an assignment hands out, including those a custom role inherits from its parent roles. You can assign a role only when you hold all of them: compare it with your own GET /api/v1/authz/me/permissions.
Enabling and Disabling
Toggle the client status from the actions menu or the detail view. When a client is disabled:
- New token requests are rejected, including refresh token requests.
- Tokens the client already holds from the Client Credentials grant stop working: they are rejected on their next request.
- Access tokens issued through the Authorization Code grant are not re-checked against the client: they stay valid until they expire (one hour by default). They are re-checked against the person they were issued to: when that person is disabled or deleted, the person's tokens from every app stop working on their next request.
- The client configuration is preserved and can be re-enabled at any time.
Deleting a Client
Delete a client from the actions menu. A confirmation dialog requires you to acknowledge the action. Deletion is permanent. The client's refresh tokens and consent records are deleted, and access tokens issued through the Client Credentials grant are rejected on their next request. Access tokens issued through the Authorization Code grant stay valid until they expire.
Discovery Endpoints
MaestroHub exposes standard OpenID Connect discovery endpoints that OAuth2 libraries use for automatic configuration:
| Endpoint | Description |
|---|---|
GET /.well-known/openid-configuration | OAuth2/OIDC server metadata: lists all endpoints, supported grant types, and scopes. |
GET /.well-known/jwks.json | Public keys for verifying token signatures. |
POST /api/v1/oauth2/introspect | Check whether a token is active and retrieve its metadata. |
POST /api/v1/oauth2/revoke | Revoke an access or refresh token. |
GET /api/v1/oauth2/userinfo | Retrieve the authenticated user's profile information. |